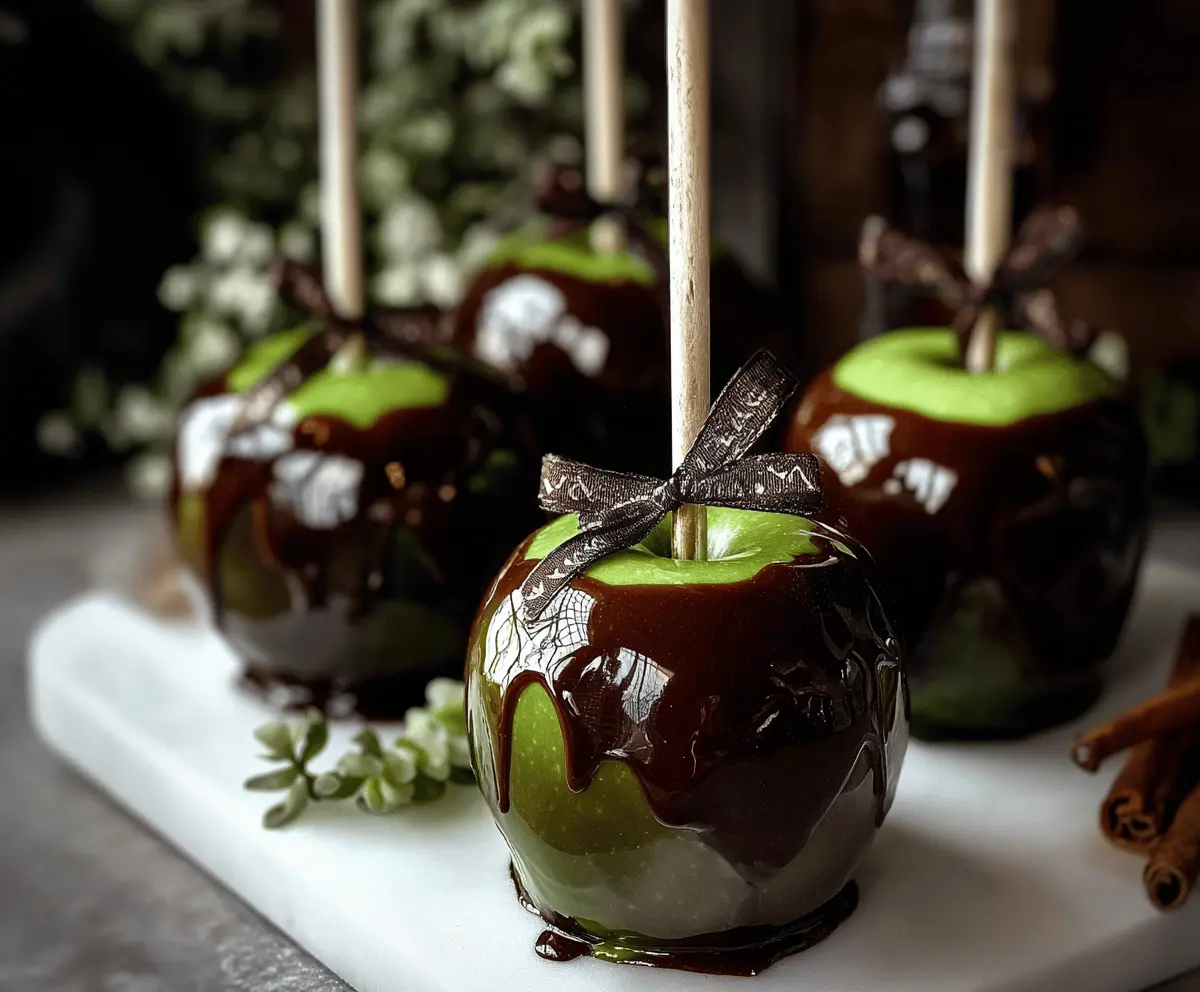
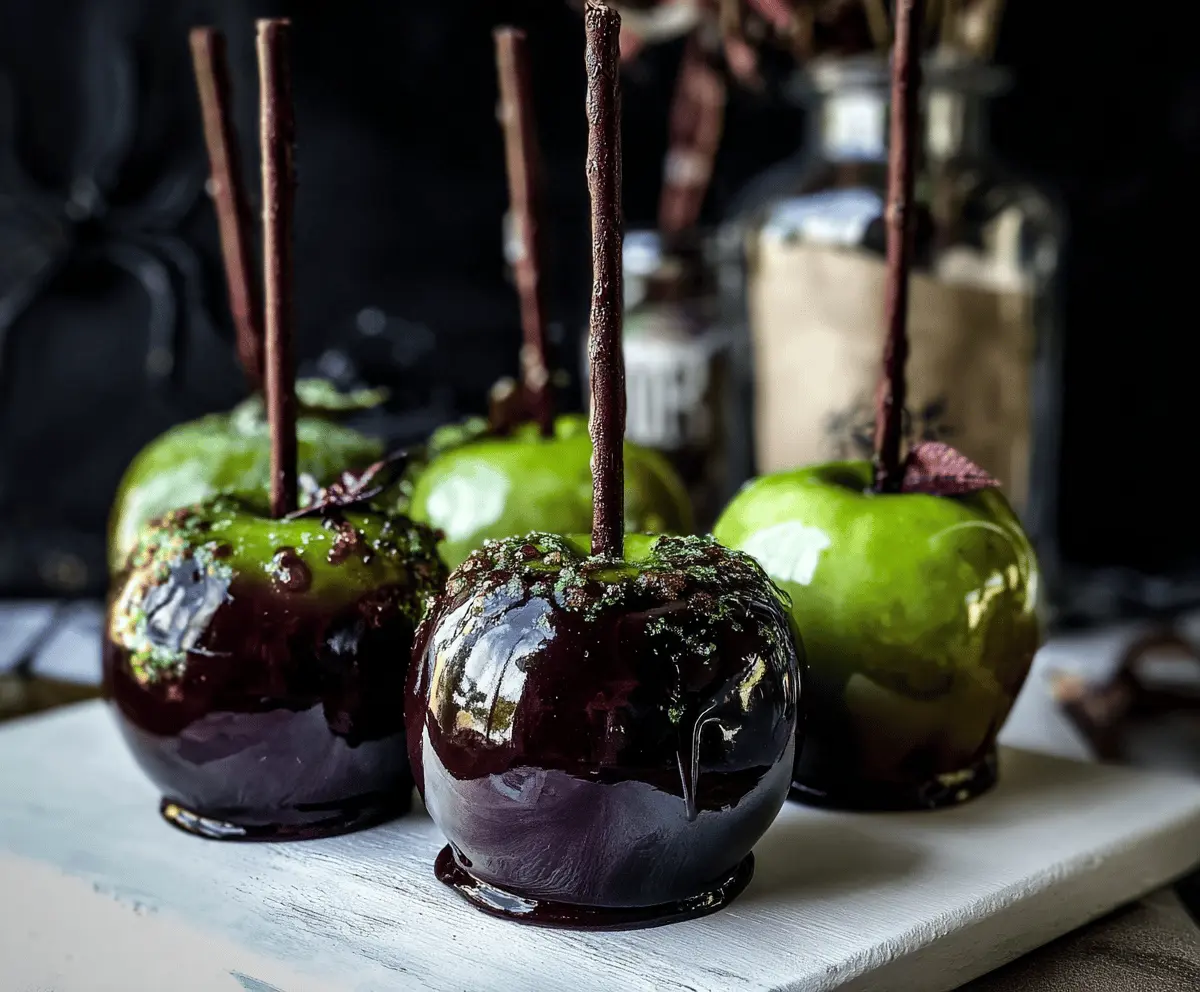
These Poison Apple Caramel Apples are a fun twist on a classic treat! Juicy apples are coated in smooth, rich caramel and then drizzled with a spooky green glaze to make them look extra creepy.
They’re perfect for Halloween parties or just to enjoy while watching a scary movie! Personally, I love how they mix sweet and a little scare—who knew apples could be so thrilling? 🍏🍬
Key Ingredients & Substitutions
Granny Smith Apples: These tart green apples are perfect for caramel apples due to their firm texture. If you can’t find them, try using other firm apples like Honeycrisp or Fuji. Just make sure they’re not too sweet!
Corn Syrup: This ingredient helps achieve a smooth, glossy finish in the caramel. If you prefer not to use corn syrup, you can substitute with honey or agave syrup, but it may alter the final texture slightly.
Food Coloring: The green food coloring gives that spooky vibe. Feel free to skip this if you want a more natural look. You could also experiment with natural green color from spirulina powder or blend spinach for a twist!
Edible Glitter: This adds a fun touch! If you don’t have it, you can use crushed green sugar or skip it entirely. It’s all about what you have on hand!
How Do You Make Sure Your Caramel Stands Out?
Getting that perfect shiny caramel requires careful attention during cooking! Here are some tips to help you succeed:
- Use a heavy-bottomed saucepan for even heat distribution. This helps prevent burning.
- Stir gently until the sugar is dissolved, then stop. Stirring after this point can cause crystallization.
- Monitor the temperature closely. When it reaches 300°F, it’s at the hard crack stage, perfect for coating!
- Dip the apples quickly but smoothly, allowing excess syrup to drip off. A twist helps ensure even coverage.
With these tips, your Poison Apple Caramel Apples should turn out beautifully glossy and spooky! Enjoy sharing this treat!
Poison Apple Caramel Apples
Ingredients You’ll Need:
For the Apples:
- 6 medium Granny Smith apples (or other firm green apples)
- 6 chocolate sticks or pretzel rods for handles
For the Caramel Coating:
- 2 cups granulated sugar
- 1/2 cup light corn syrup
- 3/4 cup water
- 1/2 teaspoon cream of tartar
- 1 teaspoon lemon juice
- 1/4 teaspoon green food coloring (for the poison effect)
- Edible green glitter or sanding sugar (optional, for decoration)
- Butter or oil (for greasing surfaces)
How Much Time Will You Need?
This recipe takes about 20 minutes of preparation time, plus about 30-45 minutes for the caramel to set. It’s a fun project that’ll result in a deliciously spooky treat, perfect for sharing with friends or family at Halloween!
Step-by-Step Instructions:
1. Prepare the Apples:
Start by washing and thoroughly drying your apples. This step is important because any moisture can affect the caramel coating. Remove the stems from the apples and insert a chocolate stick or pretzel rod into the top center of each apple, acting as a handle.
2. Get Your Baking Sheet Ready:
Lightly grease a baking sheet or line it with parchment paper to prevent the apples from sticking once they’re dipped in caramel. This will make cleanup a breeze!
3. Make the Caramel:
In a heavy-bottomed saucepan, combine the granulated sugar, corn syrup, water, cream of tartar, and lemon juice. Stir gently to mix everything together, but be careful not to splash syrup on the sides of the pan. It’s okay to get a little sticky from this process!
4. Cook the Syrup:
Place the saucepan over medium heat. Stir until the sugar dissolves, and then stop stirring. Allow the mixture to boil without stirring until it reaches 300°F, which is the hard crack stage. Keep an eye on it as this will take about 15-20 minutes. Be cautious, as the syrup will be extremely hot!
5. Add the Green Color:
Once the syrup reaches 300°F, carefully remove it from the heat. Stir in the green food coloring to get that eerie poison effect. The mixture will bubble a little, so watch out!
6. Dip the Apples:
Now it’s time to dip! Hold each apple by the handle and dip it into the candy syrup. Tilt it slightly to cover about two-thirds of the apple. Give it a slight twist to help coat evenly and let any excess syrup drip off before placing it on the prepared baking sheet.
7. Add the Sparkle (Optional):
If you want to make your apples look extra spooky, sprinkle them with edible green glitter or sanding sugar while the coating is still sticky. This will add a fun and festive touch!
8. Let Them Set:
Place the coated apples on the baking sheet and allow them to cool and harden completely, which will take about 30-45 minutes. Patience is key here!
9. Serve or Store:
Once the caramel is set, these spooky treats are ready to enjoy! You can serve them immediately or wrap them up individually in cellophane for a spooky gift or treat!
Enjoy your spooky, glossy Poison Apple Caramel Apples with that perfect crunchy shell and sweet, tart bite! Perfect for Halloween or any occasion where you want to impress with something fun!
Can I Use Different Types of Apples?
Yes, you can! While Granny Smith apples are ideal for their tartness and firmness, you can also try varieties like Honeycrisp or Fuji. Just ensure they are firm enough to hold the caramel coating!
How Can I Store Leftover Caramel Apples?
Store any leftover caramel apples in an airtight container at room temperature for up to 3 days. Avoid refrigeration, as it can cause the caramel to become sticky or lose its crunch.
What Should I Do If the Caramel Becomes Too Thick?
If your caramel becomes too thick to dip the apples, you can carefully reheat it on low heat, adding a tiny splash of water or corn syrup to loosen it up. Just be cautious not to overheat!
Can I Make These Ahead of Time?
Absolutely! You can make the caramel apples a day in advance. Just keep them wrapped in individual cellophane or stored in an airtight container at room temperature to maintain their freshness and crunch.