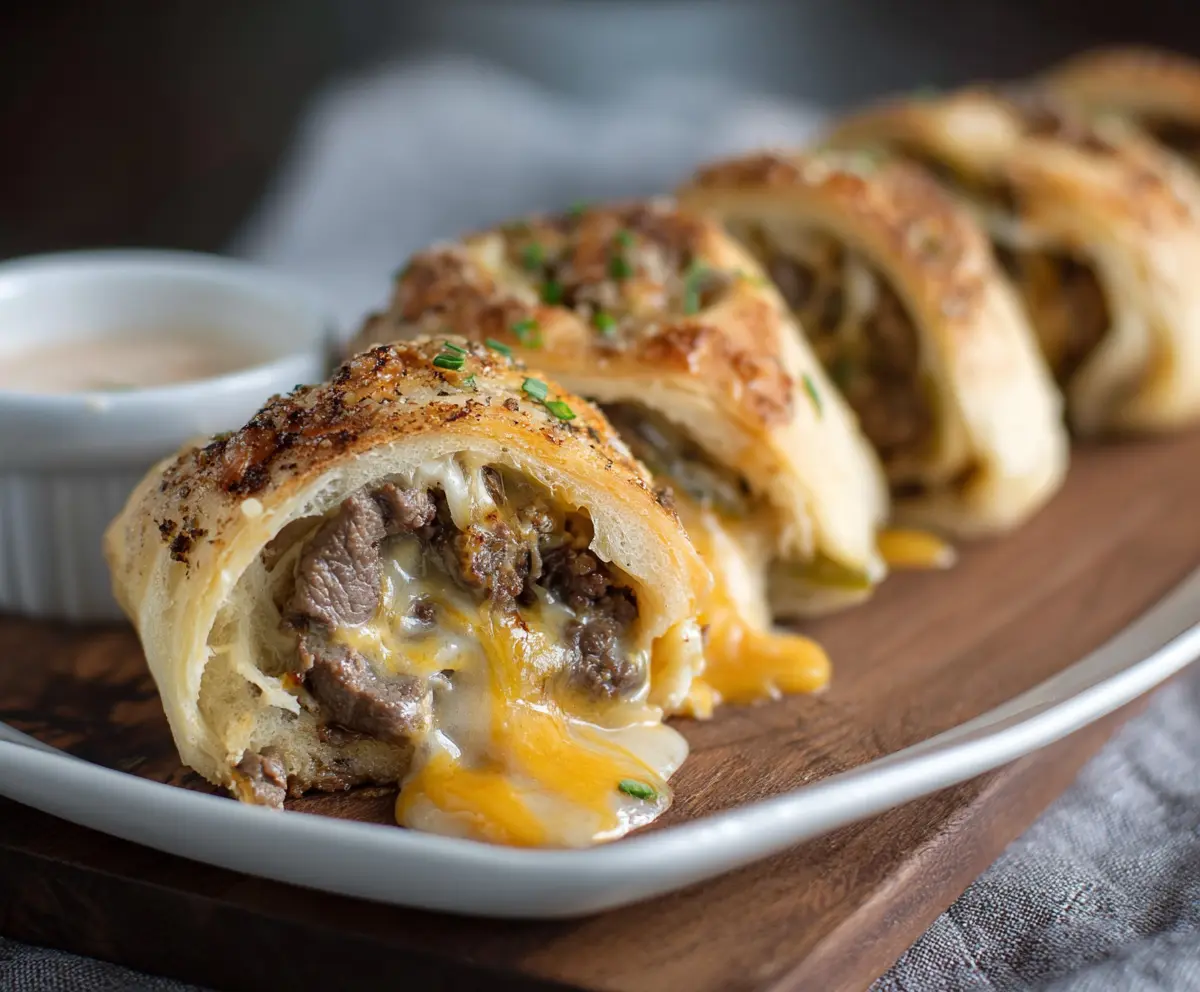
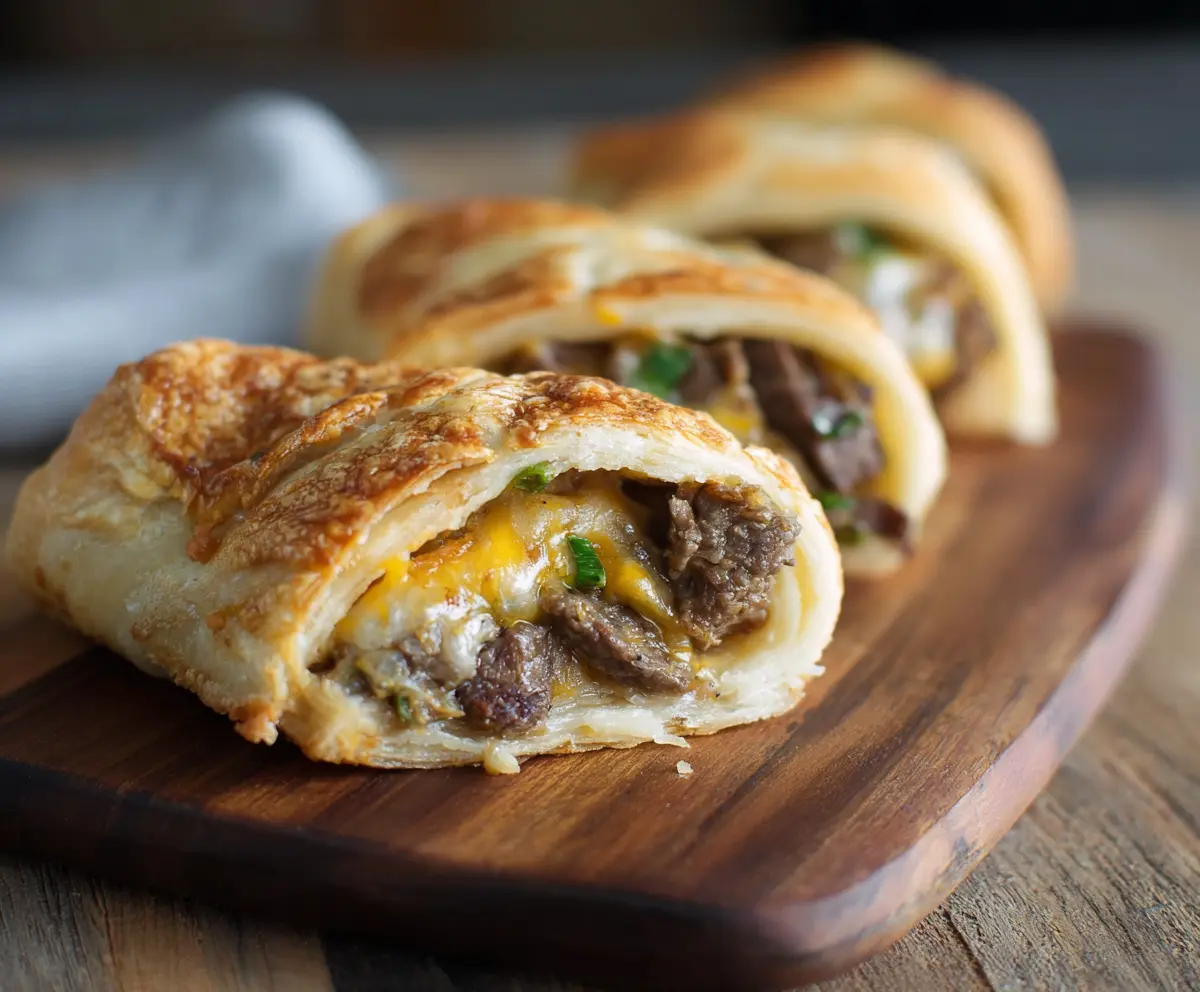
Philly Cheesesteak Roll Ups are a fun twist on a classic sandwich! They are filled with tender steak, melted cheese, and tasty peppers, all rolled up in a soft tortilla.
These little rolls are perfect for snacks or lunch. I love how easy they are to make, and you can dip them in your favorite sauce. Who can resist that cheesy goodness? 😋
Key Ingredients & Substitutions
Steak: Ribeye is my top choice for its tenderness and richness. You can substitute with sirloin for a leaner option or even use cooked deli beef if you’re in a hurry.
Puff Pastry or Crescent Roll Dough: Puff pastry gives a flaky texture, while crescent roll dough is softer and easier to work with. If you’re gluten-free, look for gluten-free dough options available in stores.
Cheese: The classic choice is provolone, but cheddar blends well for extra flavor. You can also use mozzarella for a milder taste or vegan cheese for dairy-free roll-ups.
Bell Peppers & Onions: Green bell peppers work well, but feel free to experiment with red or yellow ones for a sweeter flavor. You can use pre-sautéed frozen peppers for convenience.
How Do I Ensure Perfectly Rolled-Up Cheese Steaks?
Rolling up the cheese steak mixture in dough properly is crucial for great results. Here’s how to do it right:
- Roll out dough on a clean surface to prevent sticking. If using puff pastry, keep it cold until ready, as it puffs better when chilled.
- Evenly spread the filling, but leave a small border around the edges. This makes it easier to seal the roll.
- Tightly roll from one end to the other, gently pressing the filling as you go. Pinch the seams to prevent any leaking during baking.
- Make sure to cut the roll evenly into pieces to ensure they bake uniformly. Using a sharp knife minimizes squishing the filling out.
By following these tips, you’ll have beautiful, cheesy roll-ups every time. Enjoy your cooking!
Philly Cheesesteak Roll Ups
Ingredients You’ll Need:
For the Filling:
- 1 lb ribeye steak or sirloin, thinly sliced
- 1 small green bell pepper, thinly sliced
- 1 small onion, thinly sliced
- 1 cup shredded cheese (a mix of provolone and cheddar)
For the Dough:
- 1 sheet puff pastry or crescent roll dough
- 1 tbsp olive oil
For Seasoning:
- 1 tsp garlic powder
- ½ tsp smoked paprika
- Salt and pepper to taste
For Finishing Touches:
- 1 egg (for egg wash)
- Optional: Chopped chives for garnish
- Optional: Dipping sauce (ranch, chipotle mayo, or your favorite sauce)
How Much Time Will You Need?
This recipe will take about 15-20 minutes to prepare and around 15-20 minutes to bake. So you’re looking at about 40 minutes total from start to finish, and then you can enjoy these delicious treats warm out of the oven!
Step-by-Step Instructions:
1. Preheat the Oven:
First, preheat your oven to 375°F (190°C). This is important so your roll-ups cook evenly. While the oven heats, line a baking sheet with parchment paper to make clean-up a breeze.
2. Cook the Veggies:
In a skillet, heat the olive oil over medium heat. Add the sliced onions and the green bell pepper. Sauté them for about 5-7 minutes, or until they soften and begin to get a nice golden color. This adds great flavor!
3. Add the Steak:
Next, toss in the thinly sliced steak. Season it with salt, pepper, garlic powder, and smoked paprika. Cook for about 3-4 minutes, just until the steak is no longer pink. Then, remove the skillet from heat and let the mixture cool slightly.
4. Prepare the Dough:
While your filling cools, roll out the puff pastry or crescent roll dough on a clean, flat surface. If using puff pastry, aim for about ¼ inch thickness. This will help it puff up nicely in the oven.
5. Fill the Dough:
Spread the cooked steak and vegetable mixture evenly over the rolled-out dough, leaving a small border around the edges. This border is key for sealing the roll-up!
6. Add the Cheese:
Now, sprinkle the shredded cheese generously over the steak mixture. Who doesn’t love a cheesy roll-up?
7. Roll It Up:
Starting from one end, carefully roll the dough tightly into a log shape. Make sure to pinch the seams together well to keep everything inside during baking.
8. Egg Wash:
Brush the top of your roll with beaten egg. This gives it that beautiful golden color once it’s baked!
9. Slice and Bake:
Using a sharp knife, cut the roll into 1 to 1 ½ inch pieces and place them cut side down on your lined baking sheet. Bake these beauties for 15-20 minutes. Keep an eye on them until they are golden brown and puffed up.
10. Garnish and Serve:
Once they’re done, take them out of the oven and let them cool for a few minutes. If you want, sprinkle some chopped chives on top for a pop of color. Serve your Philly Cheesesteak Roll Ups warm with your favorite dipping sauce.
Enjoy your savory and gooey Philly Cheesesteak Roll Ups! These little delights are perfect for parties, snacks, or a quick meal. Happy eating! 🍽️
Can I Use Different Types of Meat?
Absolutely! While ribeye or sirloin is recommended for the best flavor and tenderness, you can use other meats like chicken or turkey if you prefer. Just make sure to cook them thoroughly before adding to the rolls.
Can I Make This Recipe Ahead of Time?
Yes! You can prepare the filling a day in advance. Just store it in the refrigerator and assemble the roll-ups just before baking. This helps save time on busy days!
How Should I Store Leftovers?
Any leftovers can be stored in an airtight container in the fridge for up to 3 days. To reheat, simply pop them in the oven at 350°F (175°C) for about 10-15 minutes or until warmed through. This keeps the pastry nice and crisp!
What Can I Serve with Philly Cheesesteak Roll Ups?
These roll-ups pair perfectly with various dipping sauces like ranch, chipotle mayo, or even barbecue sauce. For a complete meal, consider serving them with a side salad or some roasted veggies!