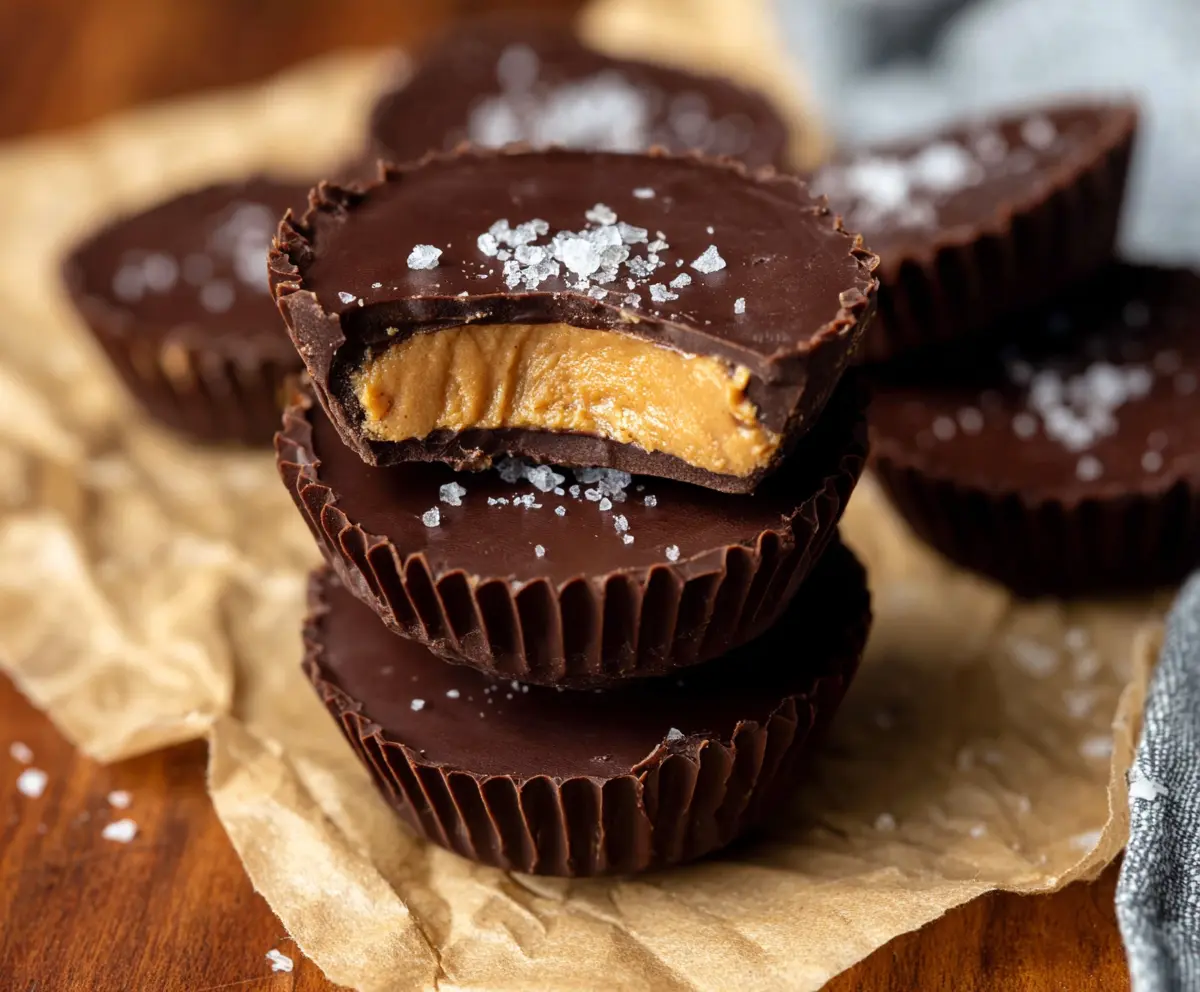
These Peanut Butter Protein Cups are a tasty treat packed with goodness! Made with creamy peanut butter and a protein boost, they offer a great way to satisfy your cravings without guilt.
I love keeping these on hand for a quick snack. They’re easy to make, and who can resist that peanut butter flavor? It’s like a little reward for your day! 😋
Key Ingredients & Substitutions
Peanut Butter: Use natural creamy peanut butter for the best flavor. If you’re allergic to peanuts, try almond or sunflower seed butter. I love the smooth texture it provides, making for easy mixing!
Protein Powder: You can use any vanilla or unflavored protein powder. If you prefer plant-based, look for pea or hemp protein. I’ve found that vanilla adds a nice flavor boost.
Sweetener: Honey works great in this recipe, but if you’re vegan or prefer a different option, maple syrup is perfect. I sometimes skip it entirely if I want to keep things low-sugar!
Dark Chocolate: Opt for chocolate that’s 70% cocoa or higher for a rich taste. If you want a dairy-free option, use vegan chocolate chips. I’ve tried both and they taste amazing!
How Do You Melt Chocolate Smoothly for This Recipe?
Melted chocolate gives a beautiful coating for your protein cups, but it requires careful attention. Here’s how to do it without burning:
- Use a microwave-safe bowl. Heat in 30-second bursts, stirring in between.
- Keep the bowl covered to avoid evaporation.
- Stop heating when it’s mostly melted, then stir until fully smooth. This residual heat will melt the remaining chunks.
This method ensures the chocolate stays creamy and perfect for coating your cups without any lumps!
How to Make Peanut Butter Protein Cups
Ingredients You’ll Need:
For the Filling:
- 1 cup natural creamy peanut butter (smooth, no added sugar)
- 1/4 cup vanilla or unflavored protein powder
- 2 tbsp honey or maple syrup (optional, for sweetness)
- 1/4 tsp sea salt
For the Chocolate Coating:
- 1 1/2 cups dark chocolate chips (or chopped dark chocolate, 70% cocoa or higher)
- Flaky sea salt for topping (optional)
Time Needed:
This recipe takes about 15 minutes to prepare, plus 1 hour to freeze to set. It’s perfect for whipping up a quick snack that will keep you satisfied!
Step-by-Step Instructions:
1. Prepare the Peanut Butter Filling:
In a medium bowl, combine the peanut butter, protein powder, honey (if using), and 1/4 tsp sea salt. Stir everything together until it’s smooth and blended well. This filling is where all the flavor and protein goodness comes from!
2. Set Up Your Molds:
Line a muffin tin or a mini cupcake mold with paper liners. This will make it easy to pop out the protein cups later. Make sure each liner is set securely so they don’t tip over!
3. Melt the Dark Chocolate:
In a microwave-safe bowl, melt the dark chocolate chips. Microwave in 30-second increments, stirring each time until the chocolate is fully melted and smooth. Be careful not to overheat; you want it melted but still glossy!
4. Create the Chocolate Base:
Take about 1 tablespoon of the melted chocolate and spoon it into the bottom of each paper liner. Use the back of the spoon to spread it evenly. This will create a lovely chocolate base for your cups.
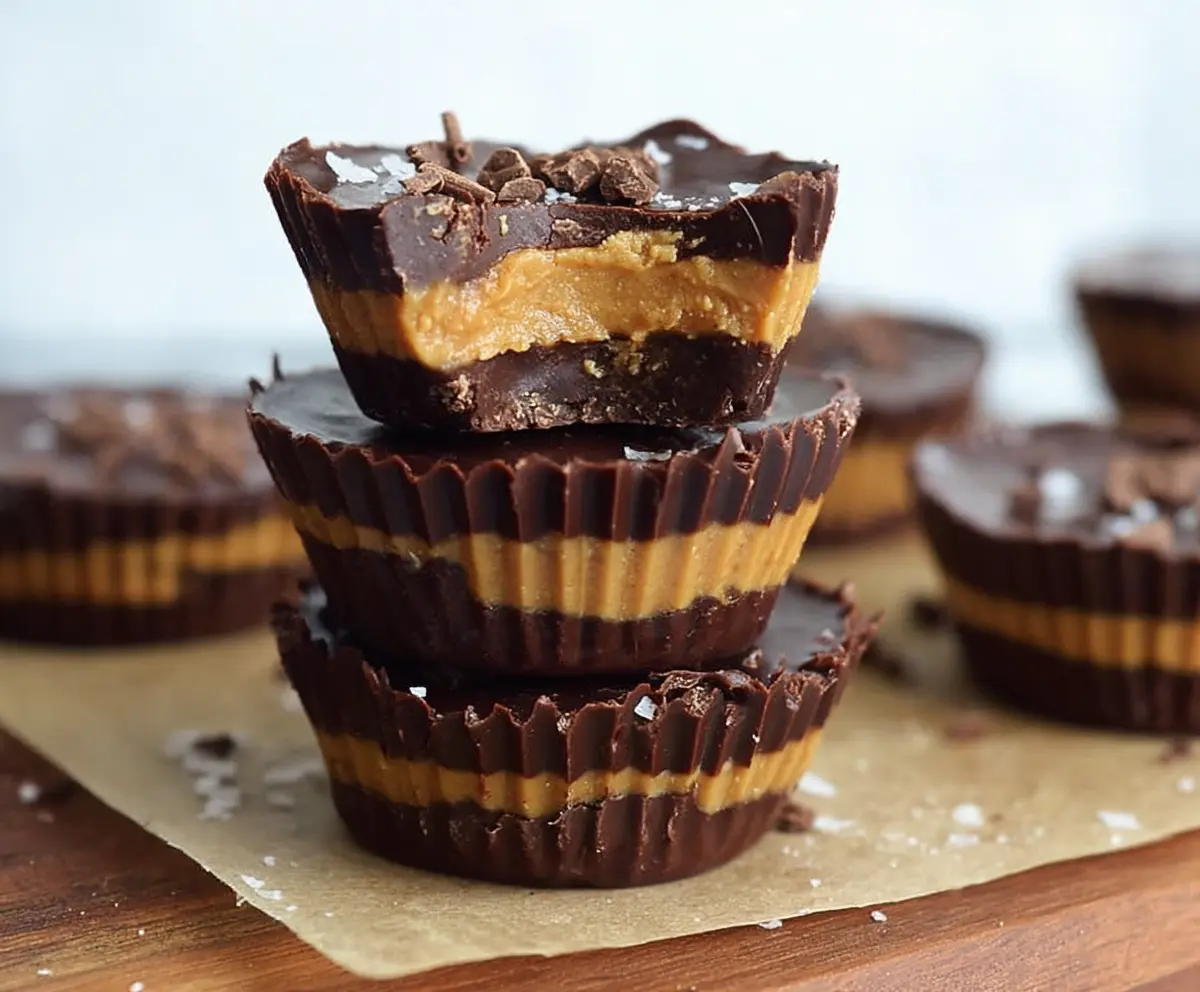
5. Add the Peanut Butter Mixture:
Now, place your creamy peanut butter mixture on top of the chocolate base. Divide it evenly among the molds and gently press it down to flatten a bit. This ensures every bite has that delicious peanut butter flavor!
6. Top with More Chocolate:
Spoon another tablespoon of melted chocolate over the peanut butter layer, covering it completely. Make sure each cup is sealed in chocolate goodness.
7. Finish with a Sprinkle:
If you want a little extra flavor, sprinkle a pinch of flaky sea salt on top of each cup. This adds a perfect touch of contrast to the sweetness!
8. Freeze to Set:
Place the tray in the freezer for at least 1 hour, or until the cups are completely set. This step is crucial for the perfect texture when you’re ready to eat!
9. Enjoy Your Treats:
When you’re ready to enjoy, take the peanut butter cups out of the freezer and let them sit for about 5 minutes to soften slightly. This makes them easier to bite into!
10. Storage:
Any leftover cups can be stored in an airtight container in the fridge or freezer. They keep well, and trust me, you might want to make a double batch because they disappear fast!
Enjoy these delicious, protein-packed peanut butter cups as a perfect on-the-go snack or a sweet but nourishing treat! They’re sure to become a favorite!
Can I Use a Different Nut Butter in This Recipe?
Absolutely! If you have allergies or just prefer a different flavor, almond butter or sunflower seed butter work well as substitutes. Just ensure they’re smooth and creamy, similar to peanut butter, for the best texture.
How Can I Make These Vegan-Friendly?
To make these peanut butter cups vegan, simply use maple syrup instead of honey and choose vegan dark chocolate chips. Many brands offer great-tasting dairy-free options that will work perfectly!
How Long Do These Last in the Fridge or Freezer?
In the fridge, these protein cups will stay fresh for about a week. If storing in the freezer, they can last for up to 3 months. Just be sure to keep them in an airtight container to prevent freezer burn!
What Should I Do If My Chocolate Hardens Too Quickly?
If your chocolate hardens before you finish coating the cups, simply reheat it gently in the microwave in 10-second intervals, stirring well until it’s smooth again. This way, you’ll get that lovely chocolate coating every time!