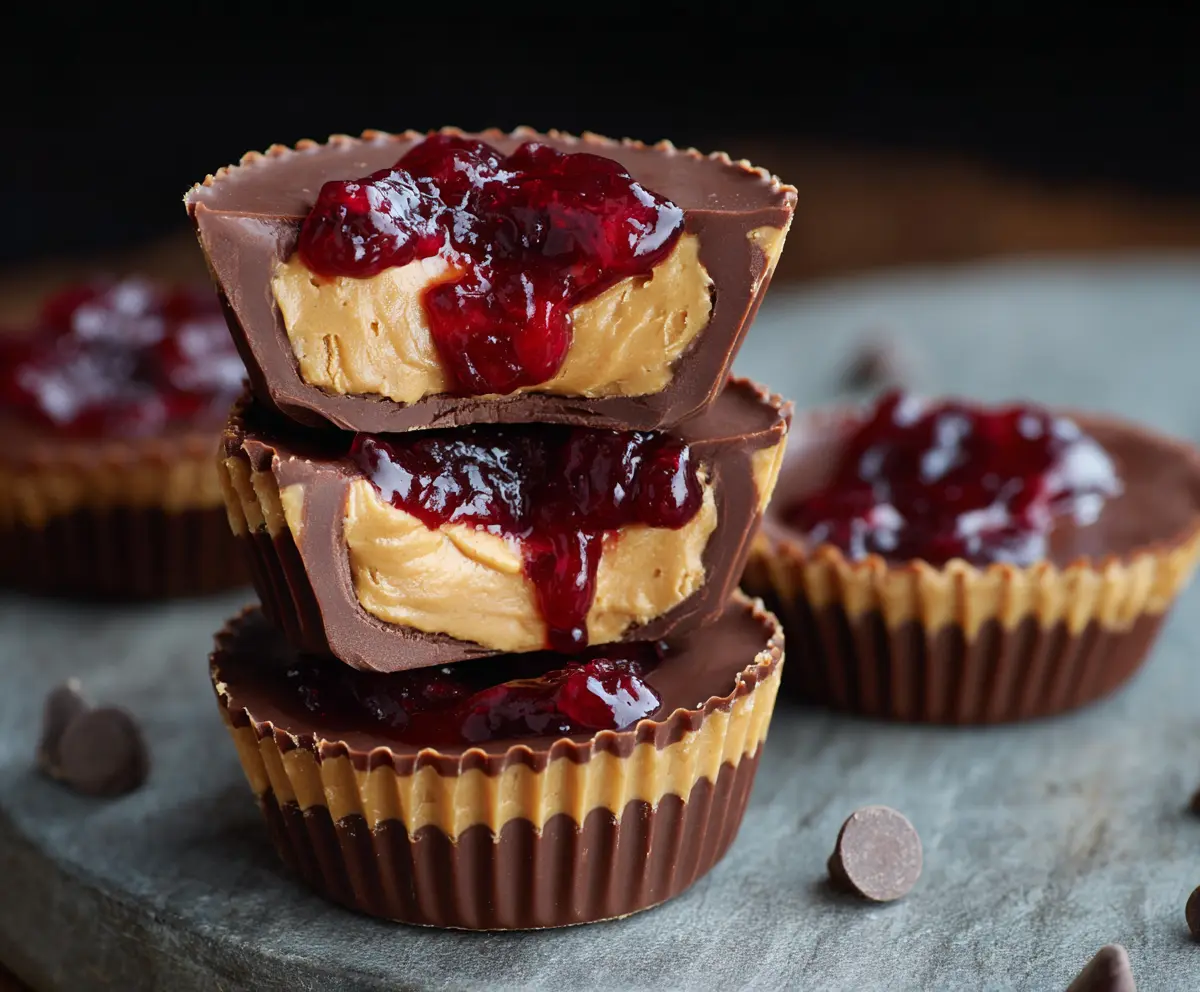
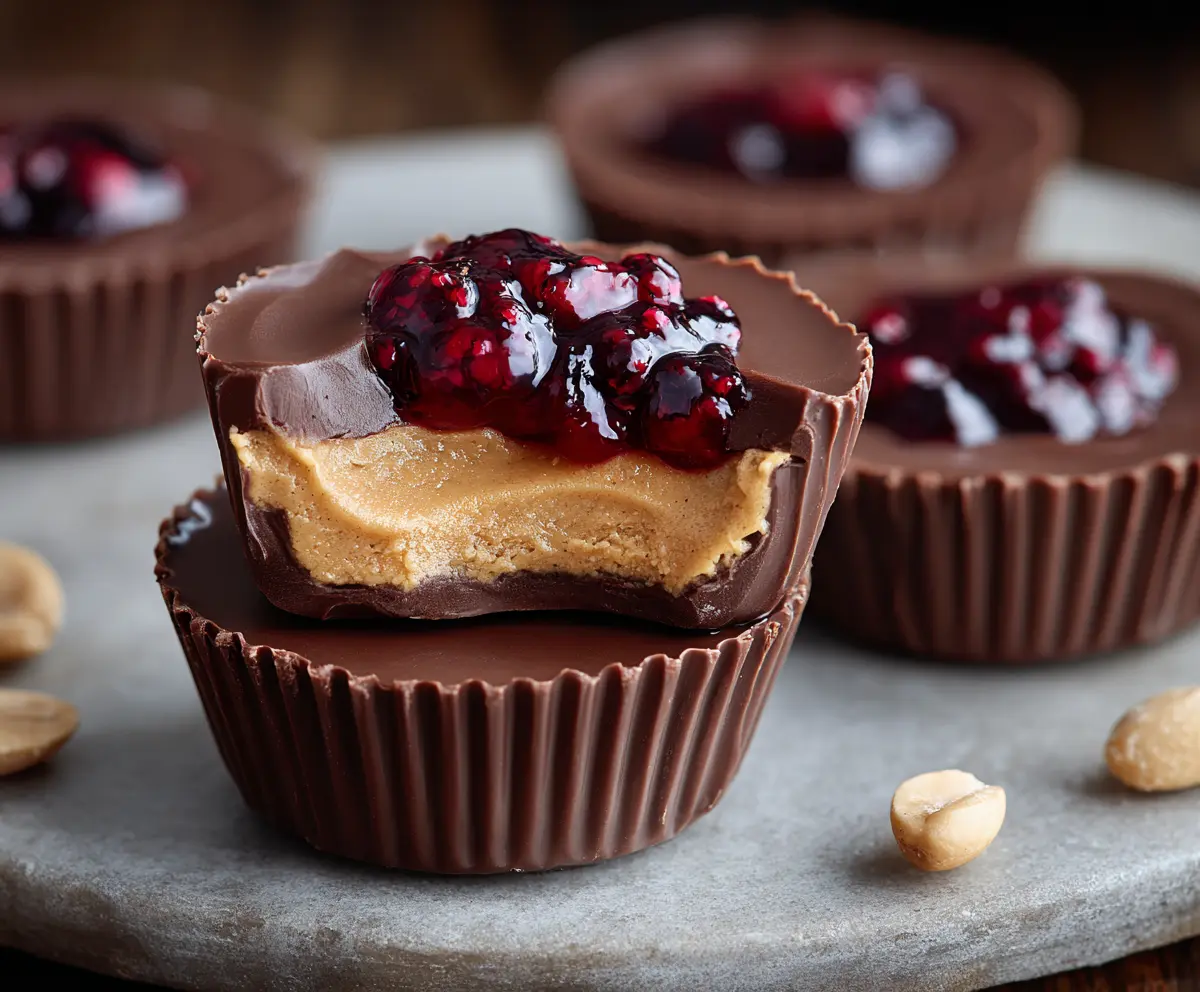
These Peanut Butter and Jelly Cups are a fun twist on a classic combo! Imagine a creamy peanut butter filling inside a sweet chocolate shell, topped with your favorite jelly.
You can whip these up in no time, and they make a great snack or treat! I love to share them with friends, but I often save a few for myself. Why not? They’re just too good! 😄
Key Ingredients & Substitutions
Chocolate Chips: Semi-sweet chocolate is great, but if you want something sweeter, try milk chocolate. Dark chocolate is another option if you prefer a richer taste. You can also use dairy-free chocolate chips for a vegan twist!
Peanut Butter: Creamy peanut butter gives a nice smooth texture. If you’re looking for a healthier choice, try natural peanut butter or almond butter for a different flavor. Just make sure it’s well-stirred to incorporate the oils.
Fruit Jelly or Jam: While strawberry jam is classic, don’t shy away from raspberry, grape, or even apricot. Homemade jam could also add a nice personal touch. Just ensure it’s thick enough to hold its shape.
How Do I Make Sure the Chocolate Shells Are Perfect?
Creating a solid chocolate shell is key to holding the fillings without leaking. Here’s how to do it right:
- Keep the temperature steady while melting chocolate. Avoid overheating, which can make it seize up.
- Make sure to coat the sides of the liners evenly. This will ensure they’re strong enough to hold up when filled.
- Let the chocolate set completely before adding the filling. A good chill time in the fridge ensures the chocolate hardens properly.
Follow these tips, and you’ll have a perfect chocolate shell for your Peanut Butter and Jelly Cups!
Peanut Butter and Jelly Cups
Ingredients You’ll Need:
- 1 1/2 cups semi-sweet chocolate chips (or milk chocolate, based on preference)
- 1 cup creamy peanut butter
- 1/4 cup powdered sugar
- 1/4 cup unsalted butter, softened
- 1/2 cup fruit jelly or jam (strawberry, raspberry, or your favorite)
How Much Time Will You Need?
This recipe will take about 15 minutes to prepare and around 40 minutes to chill, making it ready to enjoy in about an hour! Perfect for a quick treat or surprise dessert for your friends and family.
Step-by-Step Instructions:
1. Prepare Your Muffin Tin:
Start by lining a muffin tin with cupcake liners. This will help you easily remove the cups once they’re set.
2. Melt the Chocolate:
Take the chocolate chips and place them in a microwave-safe bowl. Melt them in the microwave in 30-second increments. Make sure to stir after each time until it’s nice and smooth. You want a creamy texture for your chocolate shell!
3. Create the Chocolate Shells:
Spoon about 1 tablespoon of the melted chocolate into each liner. Use the back of a spoon or the bottom of a small glass to spread the chocolate up the sides of the liner, creating an even shell. Once done, pop the muffin tin into the fridge for about 10 minutes to let them harden.
4. Mix the Peanut Butter Filling:
While your chocolate is setting, grab a medium bowl and mix together the creamy peanut butter, powdered sugar, and softened butter until everything is smooth and creamy. This mixture is what will give your cups that delicious peanut butter flavor!
5. Add the Peanut Butter Filling:
After 10 minutes, take the muffin tin out of the fridge. Add about 1 tablespoon of the peanut butter mixture into each chocolate shell, gently pressing it down so it’s packed nicely.
6. Add a Dollop of Jelly:
Now, it’s time for the fun part! Top each peanut butter layer with about 1 teaspoon of jelly or jam. You can use a spoon to add just the right amount on top.
7. Finish with More Chocolate:
Pour the remaining melted chocolate over the jelly to fully cover it. This seals the peanut butter and jelly inside. Make sure there are no gaps!
8. Chill to Set:
Place the muffin tin back in the fridge and chill for at least 30 minutes until the chocolate is completely set. This keeps everything together and makes them easy to eat.
9. Enjoy Your Treats:
Once they’re set, gently remove the cups from the liners and serve! Keep any leftovers in the fridge until you’re ready to enjoy another one. They’re a delightful blend of creamy peanut butter, sweet jelly, and rich chocolate—perfect for a snack or dessert!
Can I Use Different Types of Nut Butter?
Absolutely! Almond butter or cashew butter can be used instead of peanut butter for a different flavor. Just ensure it’s smooth for easy mixing and spreading in the cups!
How Long Can I Store These Peanut Butter and Jelly Cups?
You can keep them in an airtight container in the fridge for up to a week. Just make sure they’re well sealed to maintain their freshness!
What Should I Do If the Chocolate Shells Are Too Thick?
If you find the chocolate is thick when spreading, you can re-melt it slightly for easier application. Just make sure not to overheat, as this can cause it to seize.
Can I Make These Cups Gluten-Free?
Yes, this recipe is naturally gluten-free as long as you use gluten-free brands of chocolate and jelly! Always check labels to ensure there are no hidden gluten-containing ingredients.