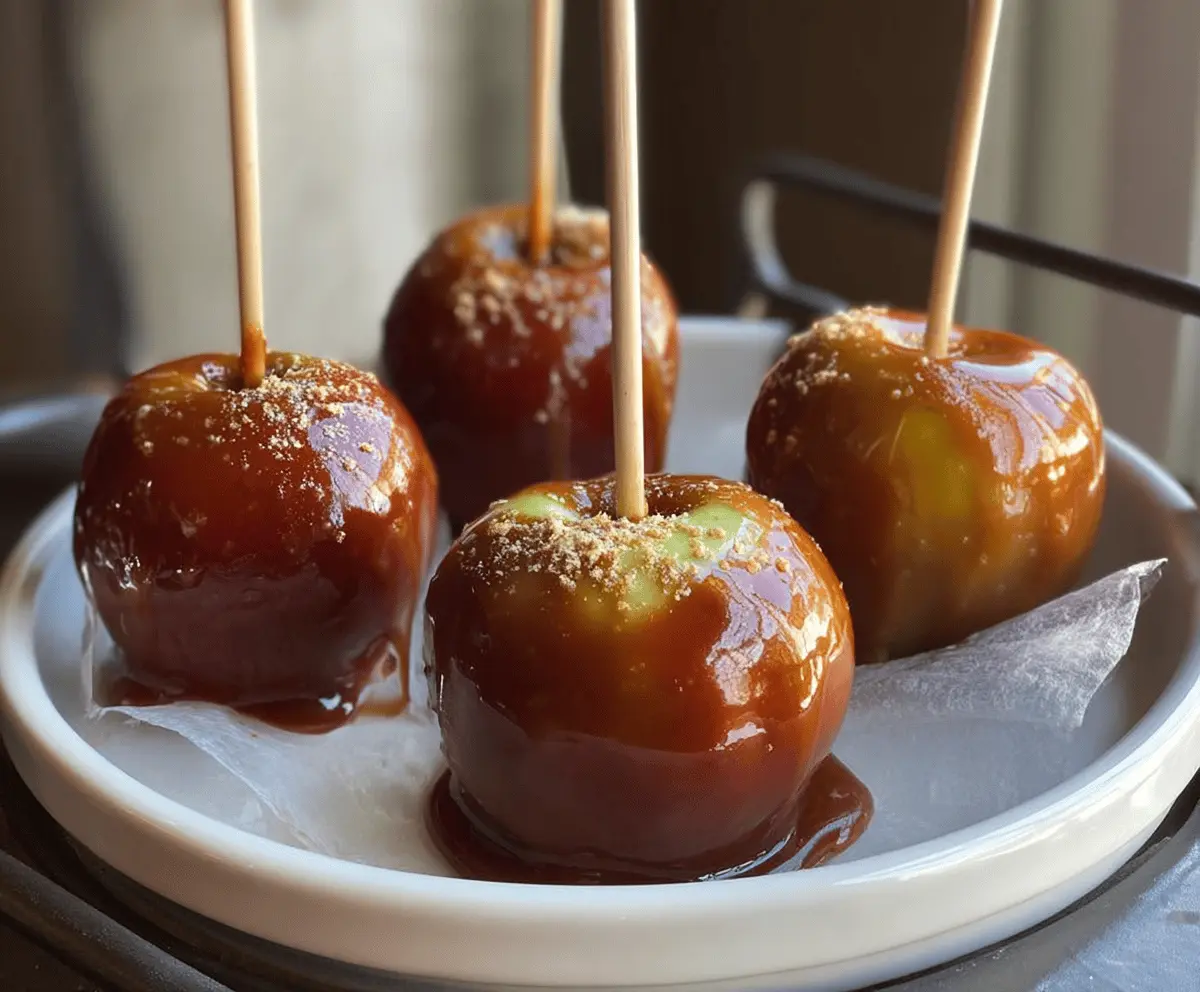
These gluten-free caramel apples are a fun and tasty treat! Fresh apples are coated in rich caramel that sticks to every bite, making them irresistible. Perfect for parties or a sweet snack!
If you ask me, the best part is the gooey caramel that stretches as you take a bite. It’s a little messy, but that just means more fun! 🍏🍬
I love to add some nuts or sprinkles on top for extra crunch. These treat-filled apples are easy to make and perfect for sharing with friends and family!
Key Ingredients & Substitutions
Apples: Granny Smith apples add a nice tartness, while Fuji apples offer sweetness. Feel free to use any firm, crisp apples you enjoy. Make sure they are fresh, as this makes a big difference in flavor.
Brown Sugar: I like using dark brown sugar for a deeper flavor, but light brown sugar works just fine. If you’re looking for a healthier option, coconut sugar can be substituted for a different, caramel-like taste.
Corn Syrup: Light corn syrup helps keep the caramel smooth and prevents crystallization. If you want a substitute, you can use maple syrup or honey, although the flavor will change a bit.
Sweetened Condensed Milk: This ingredient makes the caramel creamy. For a dairy-free version, use sweetened coconut condensed milk. It gives a unique twist while keeping it gluten free!
How Do I Make Sure the Caramel Sticks to the Apples?
Getting the caramel to adhere to the apples is crucial and there are a few tips to ensure success:
- Be sure to wash and dry the apples completely; any moisture will prevent the caramel from sticking.
- Inserting the wooden stick firmly into the apple helps with dipping and holding.
- Hold the dipped apple upside down for a while to let excess caramel drip off. This helps create an even coat.
- Sprinkling salt on the warm caramel adds delicious contrast and helps it stick better.
With these tips, your caramel apples will turn out perfectly delicious. Enjoy making and sharing them!
Gluten Free Caramel Apples
Ingredients You’ll Need:
- 4 medium apples (Granny Smith or Fuji work well)
- 1 cup brown sugar (light or dark)
- 1/2 cup unsalted butter (1 stick)
- 1/4 cup light corn syrup (ensure gluten free)
- 1/2 cup sweetened condensed milk (gluten free)
- 1 teaspoon vanilla extract
- Sea salt flakes (optional, for sprinkling)
- Parchment paper or silicone mat
- Wooden sticks for apples
How Much Time Will You Need?
This recipe takes about 15 minutes to prepare and around 1-2 hours for the caramel to set. So in total, you’re looking at about 2 hours and 15 minutes. Most of that time is just waiting for the caramel to cool down and set, giving you plenty of opportunities to tidy up the kitchen or enjoy a little snack!
Step-by-Step Instructions:
1. Prepare the Apples:
First things first, wash your apples under cool running water to remove any wax or dirt. Dry them completely with a clean towel. This ensures that the caramel will stick well. After drying, remove the stem from each apple and insert a wooden stick into the top. Make sure it goes deep enough to hold the apple firmly.
2. Set Up Your Work Area:
Next, line a baking sheet with parchment paper or a silicone mat. This is where your caramel-coated apples will rest once they’re dipped. Make sure the surface is even and ready for the apples to cool down without sticking.
3. Make the Caramel:
In a medium saucepan over medium heat, combine the brown sugar, butter, corn syrup, and sweetened condensed milk. Stir the mixture constantly with a spatula or spoon to prevent it from burning as it heats. Let it come to a gentle boil and keep stirring.
4. Monitor the Temperature:
Attach a candy thermometer to the side of the pan and keep stirring until the caramel reaches 245°F (118°C), which is known as the firm ball stage. This step is important for achieving that perfect caramel consistency.
5. Add Vanilla:
Once it reaches the right temperature, remove the saucepan from heat and stir in the vanilla extract for that delicious flavor. Be careful, as the caramel will be very hot!
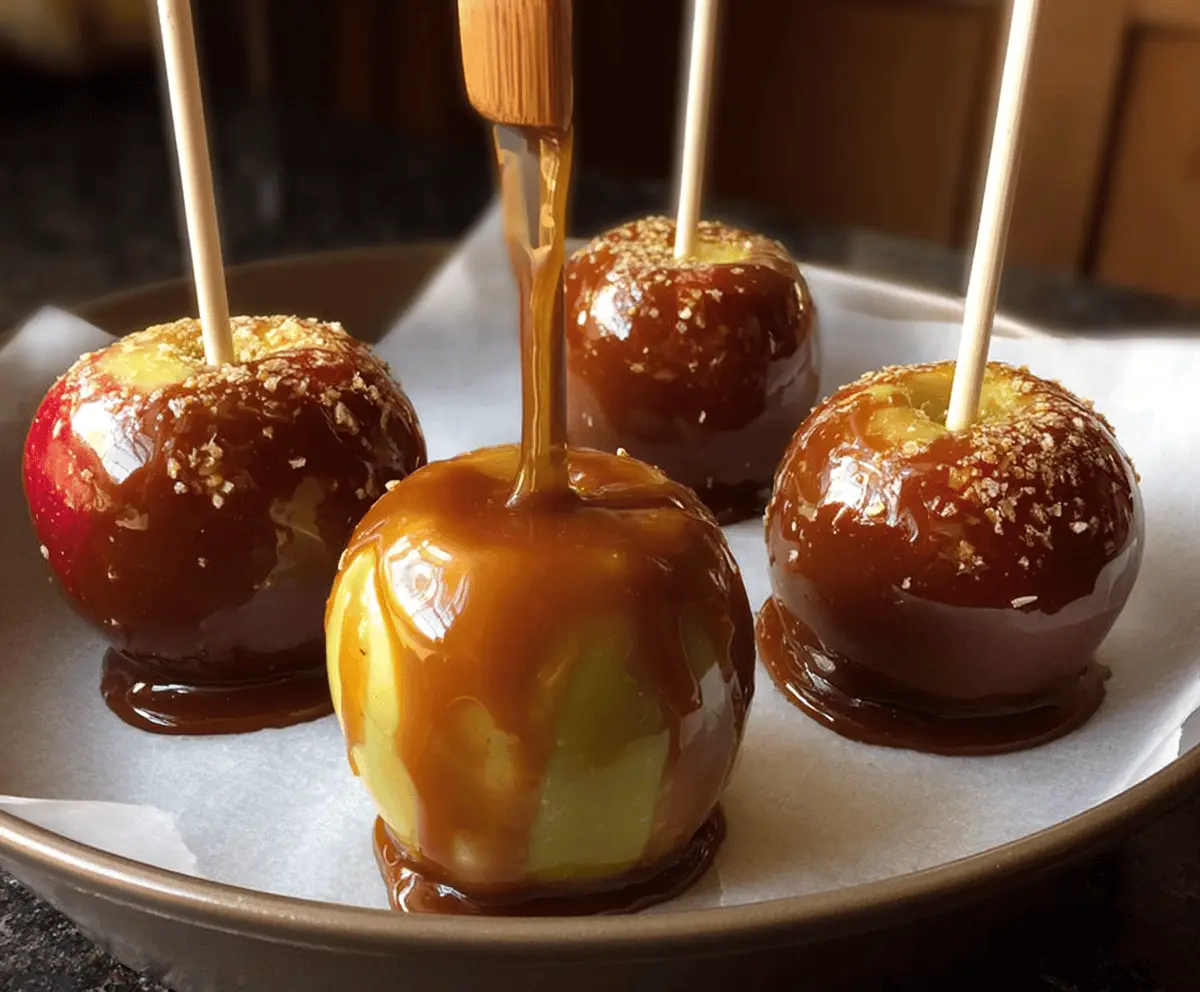
6. Dip the Apples:
Now comes the fun part! Working quickly, dip each apple into the warm caramel, twisting it to ensure it’s evenly coated. Allow any excess caramel to drip off before placing the apple onto the prepared baking sheet. Repeat this step for all the apples.
7. Add Extras:
If you’d like, you can sprinkle sea salt flakes over the warm caramel on the apples for a sweet and salty combo. This is totally optional but highly recommended!
8. Let Them Set:
Now, let the caramel apples sit at room temperature until the caramel is firm. This should take about 1-2 hours. You can also place them in the fridge for quicker setting, but avoid stacking them to keep the coating intact.
9. Store and Enjoy:
Once the caramel is set, you can store the apples in a cool place or in the refrigerator. If you store them in the fridge, it’s best to let them come to room temperature before serving for the best texture and flavor. Enjoy your delicious gluten-free caramel apples as a sweet treat or share them with friends and family!
Can I Use Other Types of Apples for This Recipe?
Absolutely! While Granny Smith and Fuji are great options, any firm, crisp apple like Honeycrisp or Gala will work well. Just ensure they are fresh for the best texture and flavor.
What Can I Use Instead of Corn Syrup?
If you’d like a substitute, you can use maple syrup or honey, but keep in mind that this may slightly change the flavor of the caramel. Just ensure they are gluten-free if that’s a concern!
How Should I Store Leftover Caramel Apples?
Store any leftover caramel apples in an airtight container in a cool place or in the refrigerator. If refrigerated, let them come to room temperature before enjoying to maintain the best texture.
How Do I Keep the Caramel from Hardening Too Fast?
To slow down the cooling process, work quickly but not hurriedly when dipping the apples. Keeping the caramel warm while working can also help, so don’t let it sit for too long if you’re dipping multiple apples.