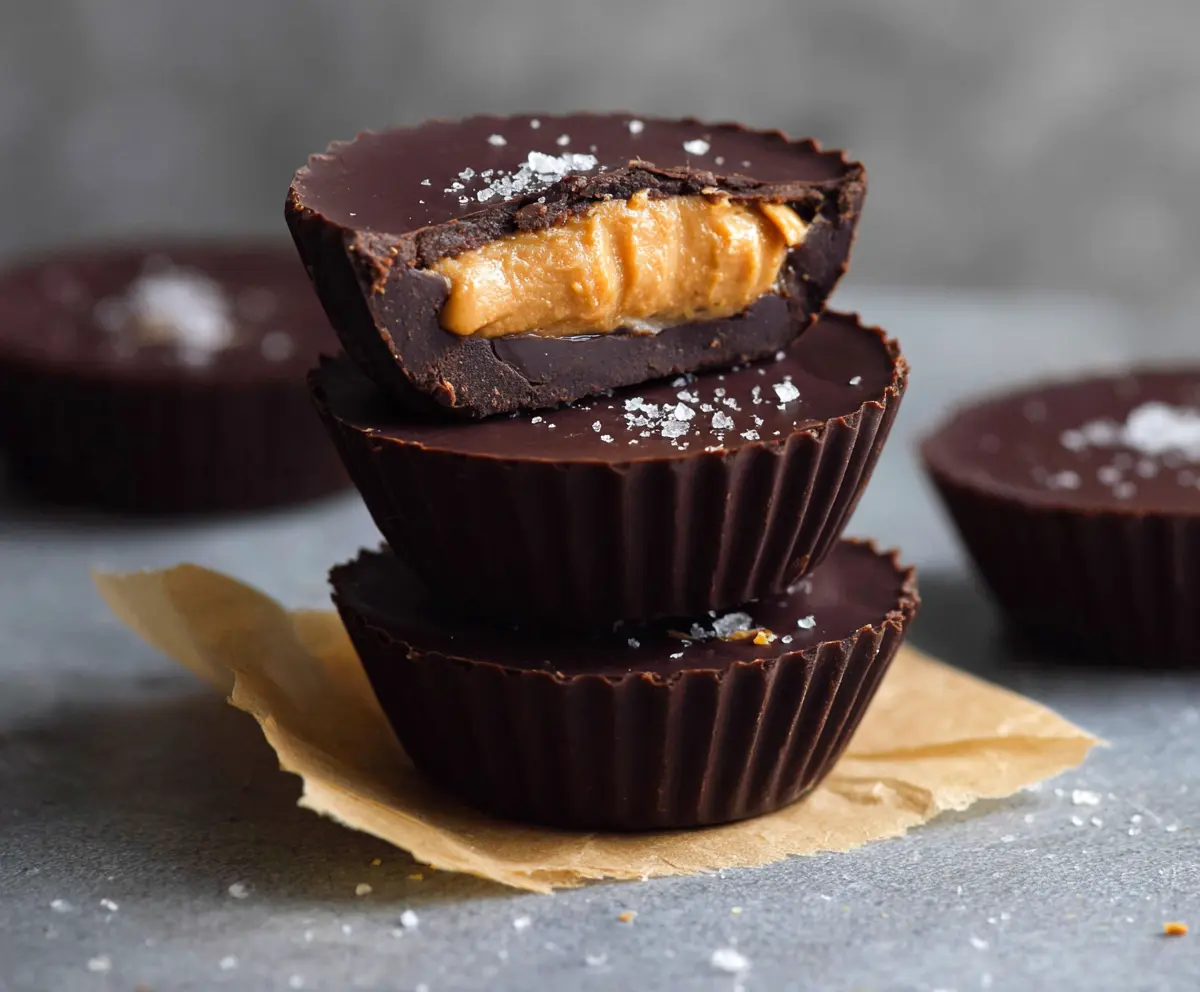
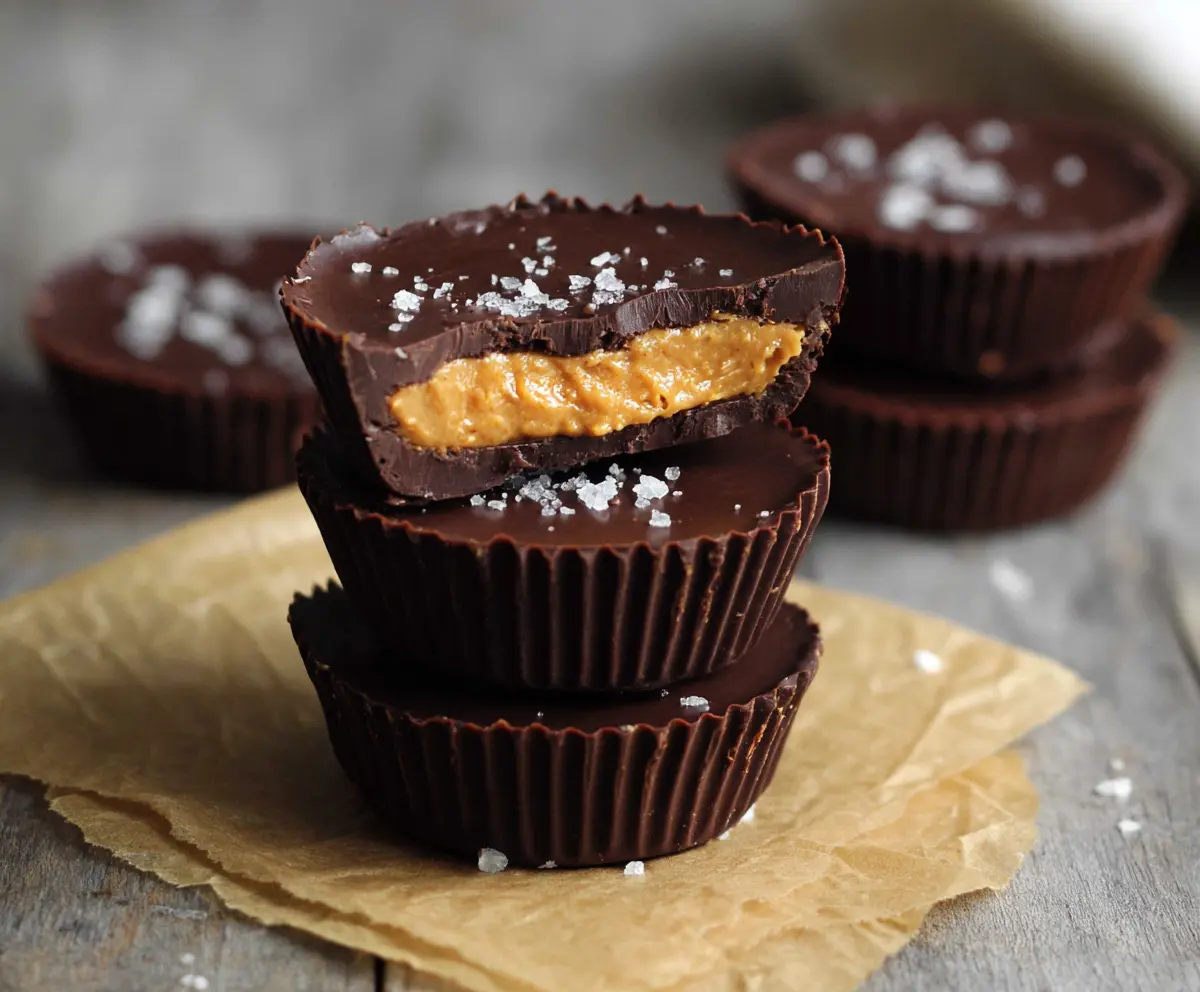
These dark chocolate peanut butter cups are a perfect treat! They combine rich chocolate with creamy peanut butter for a sweet and satisfying bite.
Let’s be real, who can resist that combination? I love making these for movie nights. Just pop them in the fridge and enjoy that chocolate-peanut butter goodness later! 🍫🥜
Key Ingredients & Substitutions
Dark Chocolate: Go for dark chocolate that’s at least 60% cocoa for depth and a little bitterness, which balances well with the sweet peanut butter. If you prefer, you can use semi-sweet chocolate; just know it will be sweeter!
Peanut Butter: Creamy peanut butter works best for a smooth filling. If you’re allergic or avoiding peanuts, almond butter or sunflower seed butter make fantastic substitutes. Just check for a similar texture.
Powdered Sugar: This ingredient is optional. If you want to skip the sugar, the cups will still taste great with just peanut butter. Alternatively, you could use honey or maple syrup if you’re looking for a natural sweetener.
Sea Salt: A little salt enhances the sweetness of the chocolate and peanut butter. You can also experiment with flavored salts like smoked salt for an interesting twist.
How Do I Melt Chocolate Without Burning It?
Melted chocolate is the key to these cups, but it’s easy to burn. Here are some simple steps to get it just right:
- Microwave: Use a microwave-safe bowl, and heat in 20-second bursts, stirring after each interval. Stop as soon as it’s melted; a few small lumps will melt as you stir.
- Double Boiler: If you have one, fill a pot with water and bring to a simmer. Place a heat-proof bowl on top, ensuring it doesn’t touch the water. Stir until smooth.
Remember, melting chocolate takes patience. Keep an eye on it to avoid clumps or burning!
How to Make Dark Chocolate Peanut Butter Cups
Ingredients You’ll Need:
For the Chocolate Cups:
- 1 cup dark chocolate chips or chopped dark chocolate (at least 60-70% cocoa)
For the Peanut Butter Filling:
- 1/2 cup creamy peanut butter (natural or regular)
- 2 tablespoons powdered sugar (optional, for sweetness)
- 1/4 teaspoon sea salt, plus extra for garnish
- 1/2 teaspoon vanilla extract (optional)
To Assemble:
- Mini cupcake liners or silicone molds
How Much Time Will You Need?
This recipe takes about 15-20 minutes of active preparation time, plus an additional 30-45 minutes for chilling in the freezer. Hop into the kitchen, and let’s get started on these delicious treats!
Step-by-Step Instructions:
1. Prepare the Molds:
Start by lining a mini muffin tin with cupcake liners or using silicone molds. This will hold your chocolate cups nicely.
2. Melt the Dark Chocolate:
Gently melt your dark chocolate in a microwave-safe bowl. Heat it in the microwave in 20-second intervals, stirring in between, until it’s smooth. Alternatively, you can use a double boiler; just be careful not to get any water in the chocolate.
3. Create the Chocolate Shell:
Once melted, spoon about one tablespoon of the melted chocolate into the bottom of each liner or mold. Using the back of a spoon, spread the chocolate evenly up the sides of the liners to create a shell. This will form the outside of your cups.
4. Chill the Shells:
Pop the tray into the freezer for about 10-15 minutes, or until the chocolate has hardened fully. This helps to set your chocolate cups perfectly.
5. Prepare the Peanut Butter Filling:
While the chocolate is chilling, mix the peanut butter with powdered sugar (if using), sea salt, and vanilla extract (if using) until smooth and creamy. This delightful filling will make your cups irresistible!
6. Add the Filling:
When the chocolate shells are ready, take them out of the freezer. Carefully add about 1 teaspoon of the peanut butter mixture into each cup. Press down gently, but ensure you leave a small gap at the edge for the top layer of chocolate.
7. Seal with Chocolate:
Cover the peanut butter layer with more melted chocolate, sealing the edges to keep the filling in place, and smooth the top with a spoon.
8. Finish with Salt:
Sprinkle a tiny pinch of sea salt on top of each cup for that delightful sweet and salty flavor contrast!
9. Final Chill:
Return the cups to the freezer for about 20-30 minutes or until they are completely set. This step is crucial for the perfect texture.
10. Serve and Store:
Once they are firm, gently remove the peanut butter cups from the liners or molds. Store them in an airtight container in the refrigerator or freezer to keep them fresh and tasty!
Enjoy your rich, decadent dark chocolate peanut butter cups! They’re a perfect treat for yourself or to share with friends. Indulge without guilt!
Can I Use Milk Chocolate Instead of Dark Chocolate?
Sure! You can substitute milk chocolate if you prefer a sweeter taste. Just be aware that using milk chocolate will result in a creamier and less rich flavor profile compared to dark chocolate.
What Should I Do If My Chocolate Is Too Thick to Spread?
If your melted chocolate seems too thick, try adding a teaspoon of coconut oil or vegetable oil. This will help thin it out, making it easier to spread while maintaining that rich chocolate flavor.
Can I Make These Vegan?
Absolutely! To make vegan peanut butter cups, choose dairy-free dark chocolate and ensure your peanut butter doesn’t contain any added ingredients like honey. Many brands offer both options!
How Long Can I Store These Peanut Butter Cups?
You can store them in an airtight container in the refrigerator for up to a week. For longer storage, freeze them for up to three months. Just let them thaw in the fridge when you’re ready to enjoy!