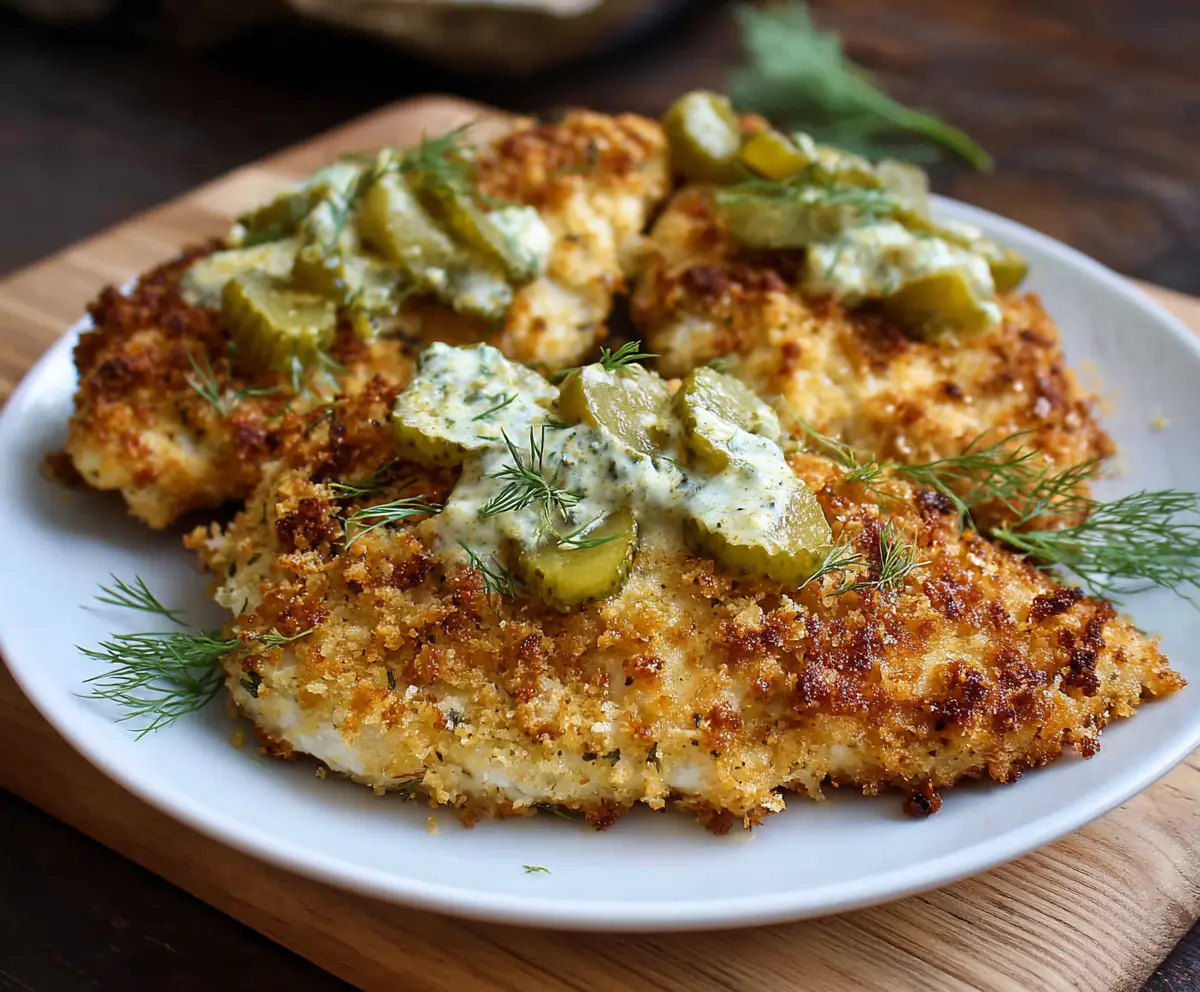
This Crispy Dill Pickle Parmesan Chicken is a fun twist on your regular chicken. It’s coated with crunchy pickles and parmesan, making every bite super tasty!
I love how the flavors work together! It’s like a party for your taste buds. Serve it with some fries, and you’ve got a winner for dinner! 🥳
Key Ingredients & Substitutions
Chicken breasts: Boneless and skinless are great for this recipe as they cook quickly and stay moist. If you prefer, you can use thighs for a richer flavor or even tofu or a plant-based chicken substitute for a vegetarian version.
Dill pickle juice: This is the star of the marinade. If you don’t have it, you can substitute with lemon juice and a splash of vinegar to mimic the tangy flavor. You can also use extra vinegar if you’re really in a pickle!
Panko breadcrumbs: These give a light and crispy texture. If you can’t find them, crushed cornflakes or regular breadcrumbs work too, though the texture may be slightly different.
Parmesan cheese: Grated Parmesan adds depth and flavor. Pecorino Romano is a tasty alternative, and for a dairy-free option, nutritional yeast can give a nice cheesy flavor.
Sour cream or Greek yogurt: Both add creaminess to the sauce. If you’re after a lighter option, you can use a plant-based yogurt or even cottage cheese that you blend for smoothness.
How Do I Get the Perfect Crispy Coating?
Coating the chicken properly is key to getting it crispy! Here’s how I do it:
- First, ensure the chicken is patted dry after marinating. This helps the coating stick.
- Dip each piece into the egg-mayo mix, making sure it’s fully coated.
- Then, dredge the chicken in the breadcrumb mixture. Press the crumbs on firmly to maximize that crispy texture.
- When frying, avoid crowding the skillet. This lets the chicken cook evenly and stay crispy.
Keep the heat at medium. Too high, and the coating might burn before the chicken is done. Also, use a meat thermometer to ensure the internal temperature reaches 165°F (74°C) for safe eating!
How to Make Crispy Dill Pickle Parmesan Chicken
Ingredients You’ll Need:
For the Chicken:
- 4 boneless, skinless chicken breasts
- Salt and black pepper, to taste
- 1 cup dill pickle juice (for marinating)
For the Coating:
- 1 ½ cups panko breadcrumbs
- ½ cup grated Parmesan cheese
- 1 tablespoon dried dill (or ¼ cup fresh dill, chopped)
- 1 teaspoon garlic powder
- 1 teaspoon onion powder
For the Wet Dip:
- 2 large eggs
- 2 tablespoons mayonnaise
For the Sauce and Garnish:
- 1 cup dill pickles, sliced
- ½ cup sour cream or Greek yogurt
- 1 tablespoon fresh dill, finely chopped (for sauce)
- 1 teaspoon lemon juice
- 2-3 tablespoons olive oil or butter (for frying)
Time Needed:
This delicious dish will take you about 15 minutes for preparation, plus an additional 30 to 1 hour for marinating the chicken. Cooking time is approximately 10 minutes. So, you’ll be all set to enjoy this meal in under 1.5 hours!
Step-by-Step Instructions:
1. Marinate the Chicken:
To start, take the chicken breasts and place them in a bowl or a zip-top bag. Pour in the dill pickle juice until the chicken is fully covered. Seal it up and pop it into the refrigerator to marinate for at least 30 minutes, or up to 1 hour if you have the time. This will give the chicken a wonderful tangy flavor and help tenderize it.
2. Prepare the Coating:
While the chicken is marinating, grab a shallow bowl and mix together the panko breadcrumbs, grated Parmesan cheese, dried dill, garlic powder, onion powder, salt, and pepper. Make sure everything is combined well for an even coating later!
3. Make the Wet Dip:
In another bowl, whisk together the eggs and mayonnaise until it’s smooth and well-blended. This will help the breadcrumbs stick to the chicken as it cooks.
4. Coat the Chicken:
Once your chicken is done marinating, take it out and gently pat it dry with paper towels. This helps the coating adhere better. Dip each chicken breast into the egg mixture, allowing any excess to drip off. Then dredge the chicken in the breadcrumb mixture, pressing down lightly to make sure the crumbs stick nicely all over.
5. Cook the Chicken:
Heat olive oil or butter in a large skillet over medium heat. Once hot, add the coated chicken breasts to the skillet. Cook for about 4-5 minutes on each side until the coating is golden brown and crispy. Make sure the chicken is fully cooked by checking that the internal temperature reaches 165°F (74°C).
6. Make the Dill Pickle Sauce:
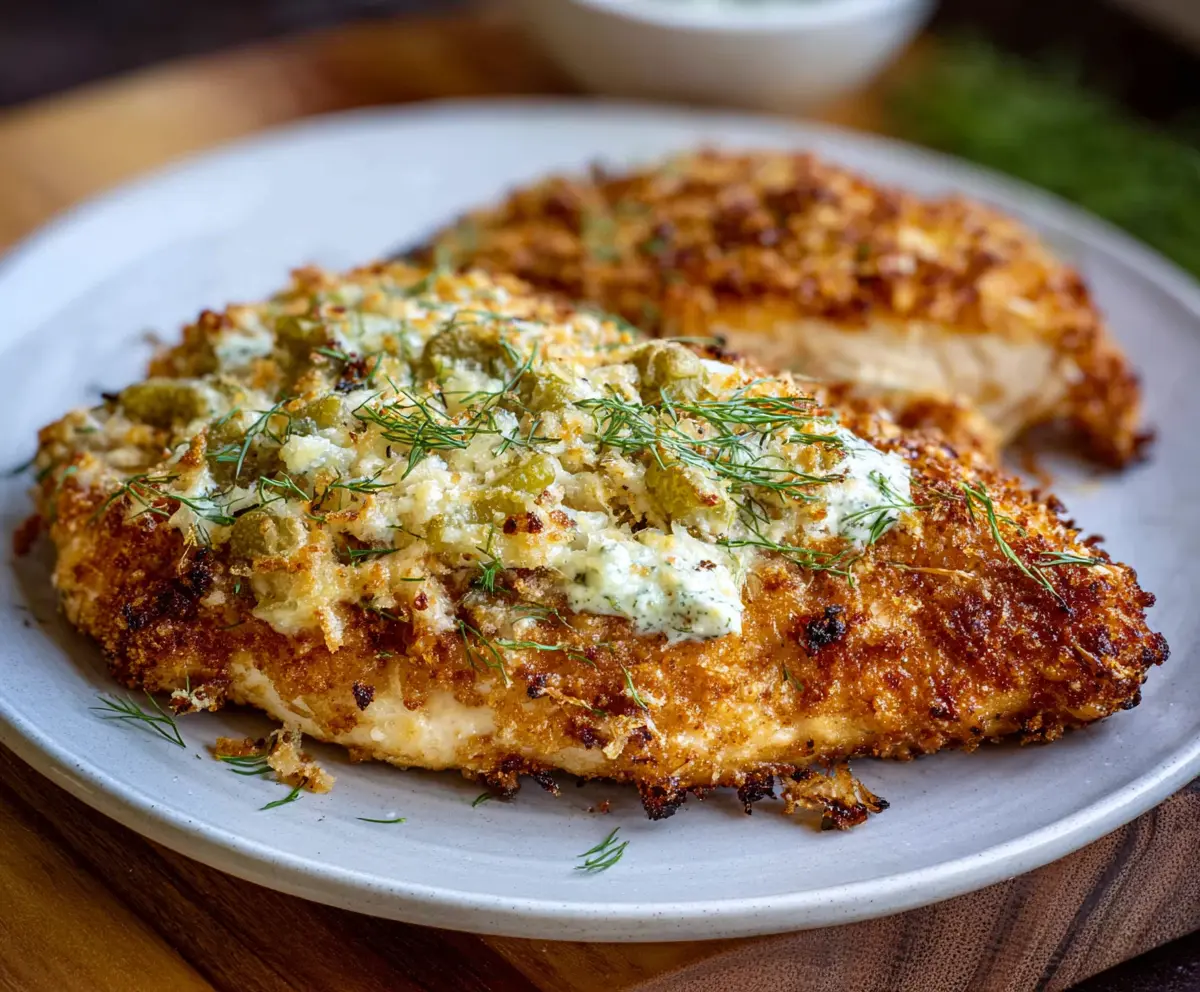
While the chicken is cooking, mix the sour cream (or Greek yogurt), chopped fresh dill, lemon juice, and a few slices of finely chopped dill pickles in a small bowl. Season it all with a bit of salt and pepper to taste. This sauce will bring everything together beautifully!
7. Assemble and Serve:
After cooking, place the crispy chicken on plates and generously spoon the dill pickle sauce over each piece. If you want, garnish with extra dill pickle slices and fresh dill sprigs to make it look extra special. Enjoy your Crispy Dill Pickle Parmesan Chicken with your favorite side dish, like roasted vegetables, mashed potatoes, or a fresh salad!
Can I Marinate the Chicken Overnight?
Absolutely! Marinating the chicken overnight in dill pickle juice will intensify the flavor and help it stay tender. Just make sure to keep it covered in the fridge.
What Can I Use Instead of Panko Breadcrumbs?
If you don’t have panko breadcrumbs, you can use regular breadcrumbs or crushed cornflakes. Just keep in mind that the texture might not be as light and crispy as with panko.
Can I Make This Dish Gluten-Free?
Yes! To make the dish gluten-free, simply use gluten-free breadcrumbs instead of panko. You can also substitute the flour in the coating step if you prefer a different texture.
How Should I Store Leftovers?
Store any leftovers in an airtight container in the fridge for up to 3 days. To reheat, warm them in the oven for a crispier texture or in the microwave for a quicker option.