
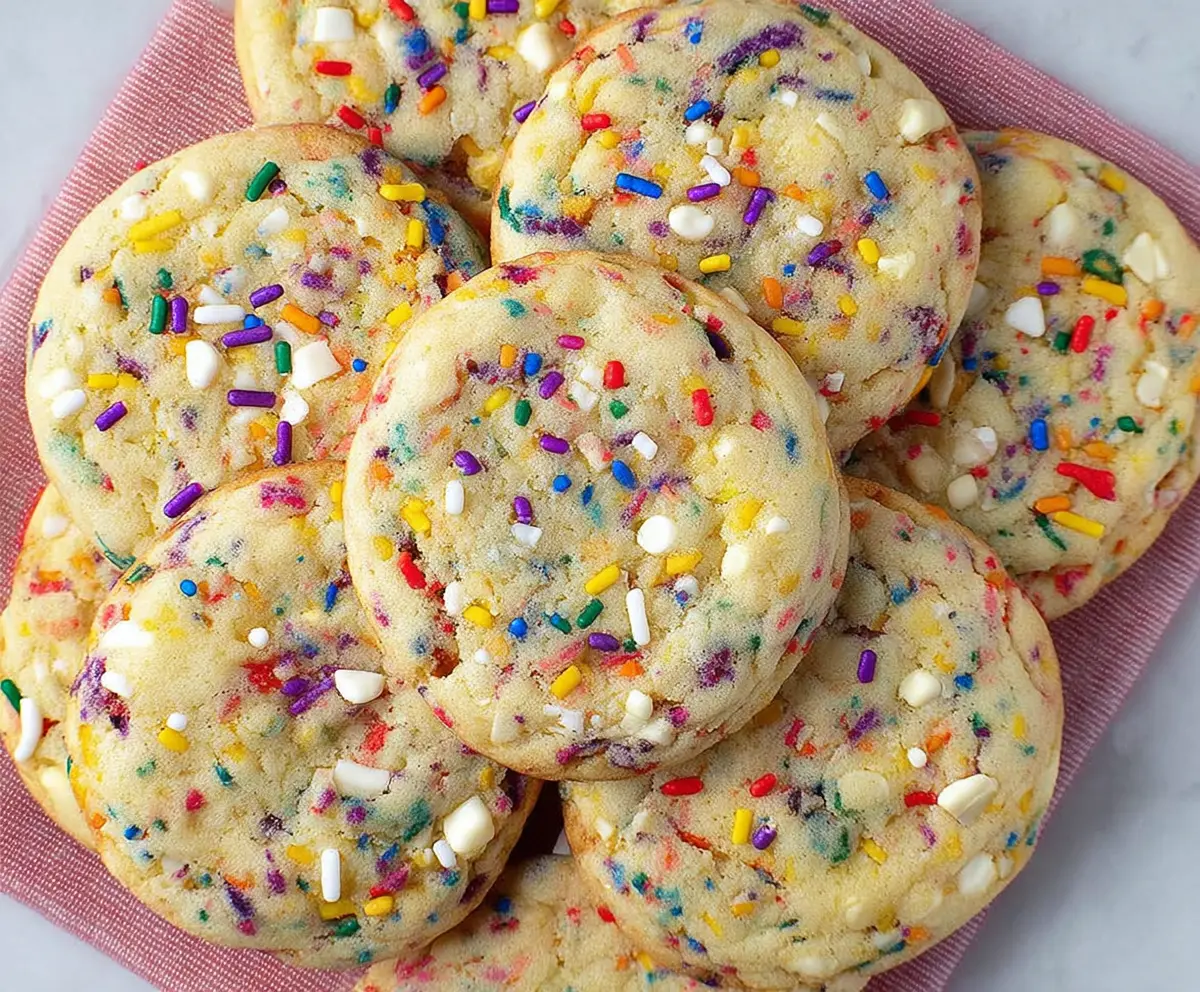
Confetti cookies are sweet, soft cookies filled with fun colorful sprinkles! They are perfect for any celebration or just to add a bit of cheer to your day.
Every bite feels like a little party in your mouth! I love making these when I need a pick-me-up – they always make everyone smile. 🎉
Key Ingredients & Substitutions
All-Purpose Flour: This is the base for your cookies. You can use a 1:1 gluten-free flour blend if you need a gluten-free option. My go-to is always unbleached flour for a better flavor.
Unsalted Butter: Using unsalted butter lets you control the saltiness of the cookies. If you’re in a pinch, you can use margarine or coconut oil. For a richer flavor, try browning the butter before mixing it in!
Granulated Sugar: This sweetens your cookies, but you can also mix in some brown sugar for a chewier texture. If needed, coconut sugar is a great alternative for a slightly different taste.
Rainbow Sprinkles: Don’t have jimmies? Use any colorful sprinkles you have on hand! I prefer jimmies because they hold their shape better while baking. Avoid nonpareils as they can bleed colors into the dough.
How Can You Ensure Your Cookies Are Soft and Chewy?
Getting that delightful soft and chewy texture in your cookies requires a few important tips. First, don’t overmix the dough after adding the flour. Overmixing can lead to tougher cookies.
- Chill your dough for at least 30 minutes if you prefer thicker cookies; this helps control spreading.
- Bake just until the edges are set and the centers look slightly underbaked. They’ll firm up as they cool.
- Let them rest on the baking sheet for 5 minutes before transferring to a wire rack for cooling.
These small details will make a big difference in your final cookie texture—soft, fluffy, and full of fun flavor!
How to Make Confetti Cookies
Ingredients You’ll Need:
- 2 3/4 cups all-purpose flour
- 1 teaspoon baking soda
- 1/2 teaspoon baking powder
- 1/2 teaspoon salt
- 1 cup unsalted butter, softened
- 1 1/2 cups granulated sugar
- 1 large egg
- 2 teaspoons vanilla extract
- 1/2 cup rainbow sprinkles (jimmies)
- 1/2 cup white chocolate chips or chunky white candy melts (optional)
How Much Time Will You Need?
This recipe takes about 15 minutes to prepare and 10-12 minutes to bake. Make sure to allow an additional 5 minutes for cooling on the baking sheet. Overall, you’ll spend around 30 minutes to enjoy these delightful cookies!
Step-by-Step Instructions:
1. Preheat the Oven:
Start by preheating your oven to 350°F (175°C). This ensures that your cookies bake evenly. Line two baking sheets with parchment paper or silicone baking mats to prevent sticking.
2. Mix the Dry Ingredients:
In a medium bowl, whisk together the flour, baking soda, baking powder, and salt. This helps to blend the dry ingredients evenly and gives your cookies that perfect rise. Set this mixture aside while you prepare the wet ingredients.
3. Cream the Butter and Sugar:
In a large bowl, use an electric mixer to cream the softened butter and granulated sugar together until the mixture is light and fluffy, which takes about 3 minutes. This step is key for making your cookies tender and delicious!
4. Add Egg and Vanilla:
Beat in the egg and vanilla extract until everything is well combined. The egg adds moisture and richness to your cookies while the vanilla brings a delightful flavor.
5. Combine Wet and Dry Ingredients:
Gradually add the dry ingredients to the wet ingredients, mixing on low speed until everything is just combined. Be careful not to overmix, as this can lead to cookies that are tough instead of soft and chewy.
6. Fold in the Fun:
Gently fold in the rainbow sprinkles and white chocolate chips (if you’re using them). Make sure to mix just enough to distribute everything evenly without melting the colorful sprinkles!
7. Scoop the Dough:
Using a cookie scoop or a tablespoon, scoop out the dough and place it onto the prepared baking sheets, leaving about 2 inches of space between each cookie to allow for spreading.
8. Add Extra Sprinkles:
For a fun touch, press a few extra sprinkles on top of each cookie dough ball. This will make your cookies look even more festive once they’re baked!
9. Bake:
Bake the cookies in the preheated oven for 10-12 minutes, or until the edges are set while the centers still look a bit soft. This helps to keep them chewy and delicious!
10. Cool the Cookies:
Once baked, allow the cookies to cool on the baking sheet for about 5 minutes. Then carefully transfer them to a wire rack to cool completely.
11. Enjoy!
Once cooled, dive into your soft, sweet confetti cookies! They’re perfect for celebrations, parties, or just because. Enjoy the cheerful burst of color and flavor with every bite!
These cookies bring joy with their tender, buttery texture and colorful sprinkles, making them a wonderful treat for any occasion!
Can I Use Margarine Instead of Butter?
Yes, you can use margarine as a substitute for unsalted butter. Keep in mind that this may slightly change the flavor and texture of the cookies, but they will still be delicious!
What If I Don’t Have Rainbow Sprinkles?
No problem! You can substitute with any type of sprinkles you have on hand, like chocolate sprinkles or nonpareils. Just avoid using nonpareils if you want to keep the colors bright, as they tend to melt and bleed.
How Should I Store Leftover Cookies?
Store leftover cookies in an airtight container at room temperature for up to 5 days. For longer storage, you can freeze them for up to 3 months. Just make sure to separate layers with parchment paper to prevent sticking!
Can I Use Other Mix-Ins?
Absolutely! Feel free to get creative by adding chopped nuts, different types of chocolate chips, or dried fruit instead of or in addition to the white chocolate chips. Just remember not to overload the dough to maintain the cookie’s structure.