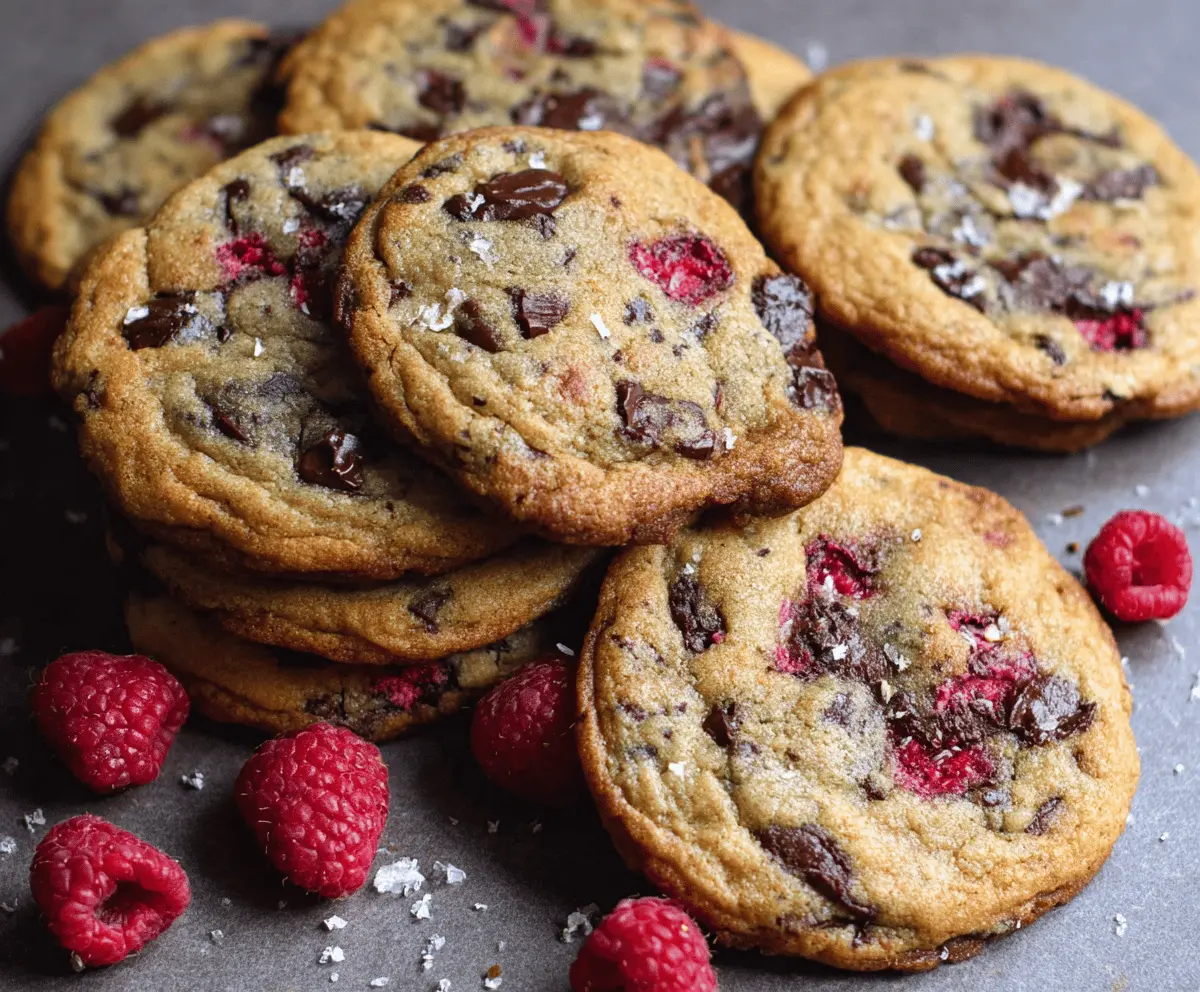
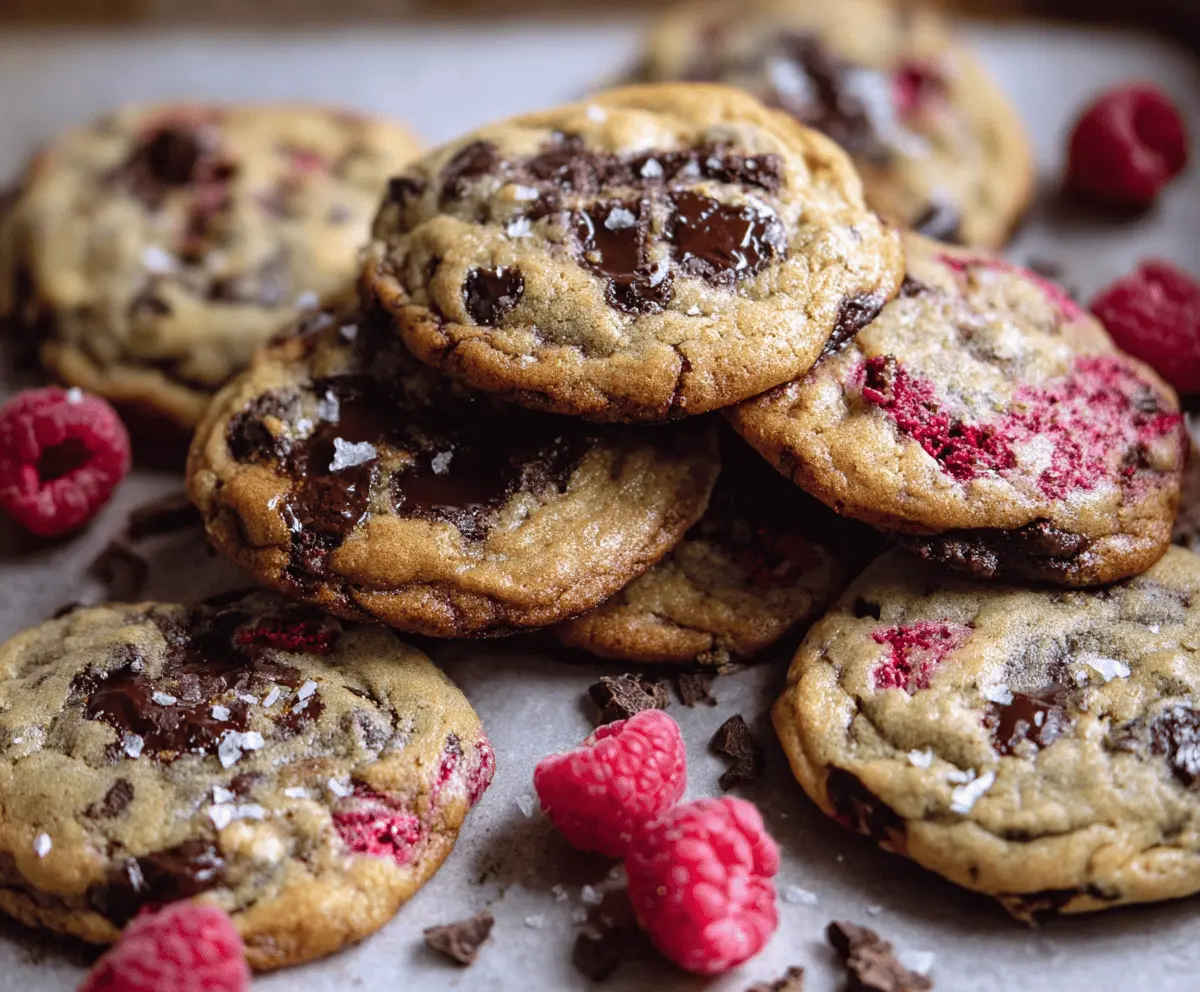
These chewy raspberry chocolate chip cookies are simply delicious! The tart raspberries mix perfectly with the sweet chocolate chips, making each bite a tasty treat.
Can you resist the smell of fresh cookies in the oven? I can’t! I love eating them warm with a glass of milk. They disappear so fast, you might need to hide a few! 😄
Key Ingredients & Substitutions
Unsalted Butter: Softened butter creates a melt-in-mouth texture. If you’re avoiding dairy, try coconut oil or vegan butter as an alternative. You’ll still get that lovely chewiness!
Granulated & Brown Sugar: The mix of sugars gives depth to the flavor. If you’re looking for lower sugar options, coconut sugar can work well. Just note it may alter the cookie’s color slightly.
Chocolate Chips: I prefer semi-sweet chips for balance, but dark chocolate is wonderful for those who love a richer taste. You can also use white chocolate or even carob chips for a different twist!
Raspberries: Fresh raspberries are key here! If they’re out of season or you can’t find them, frozen raspberries can be used; just make sure to thaw and drain them well to prevent excess moisture.
How Do I Keep My Cookies From Spreading Too Much?
One common issue with cookies is dealing with spreading. Here are some tips to help keep them nice and thick:
- Make sure your butter is softened, not melted, before mixing it with the sugars.
- Chill the cookie dough for at least 30 minutes before baking. This helps the cookies maintain their shape.
- Don’t skip the parchment paper! It provides a non-stick surface that helps cookies keep their round shape.
- Ensure you measure your flour accurately; too little can cause spreading. Spoon flour into your measuring cup and level it off rather than scooping directly from the bag.
Chewy Raspberry Chocolate Chip Cookies
Ingredients You’ll Need:
- 1 cup (2 sticks) unsalted butter, softened
- 3/4 cup granulated sugar
- 3/4 cup packed light brown sugar
- 2 large eggs
- 2 teaspoons vanilla extract
- 2 1/4 cups all-purpose flour
- 1 teaspoon baking soda
- 1/2 teaspoon salt
- 1 1/2 cups semisweet or dark chocolate chunks or chips
- 1 cup fresh raspberries (gently rinsed and patted dry)
- Optional: Flaky sea salt for topping
Time Needed:
This delightful cookie recipe will take about 15 minutes to prep and an additional 10-12 minutes to bake. Don’t forget to factor in some cooling time! Overall, you’ll have fresh cookies ready in about 30-35 minutes.
Step-by-Step Instructions:
1. Preheat the Oven:
Start by preheating your oven to 350°F (175°C). This helps your cookies bake evenly. While it’s heating up, line your baking sheets with parchment paper or silicone baking mats to prevent sticking.
2. Cream the Butters and Sugars:
In a large mixing bowl, combine the softened butter, granulated sugar, and brown sugar. Use a hand mixer or a whisk to blend them together until the mixture is light and fluffy, which usually takes about 2-3 minutes. This step helps to incorporate air, giving your cookies a nice texture!
3. Add Eggs and Vanilla:
Next, beat in the eggs one at a time, making sure each is well mixed before adding the next. After that, stir in the delicious vanilla extract until everything is blended smoothly.
4. Mix Dry Ingredients:
In a separate bowl, whisk together the all-purpose flour, baking soda, and salt. This step ensures even distribution of the baking soda and salt throughout the dough.
5. Combine Wet and Dry Ingredients:
Gradually add the dry mixture into the wet mixture, mixing gently. Be careful not to overmix, as this can make your cookies tough. Just stir until you can no longer see any dry flour!
6. Fold in Chocolate and Raspberries:
Gently fold in the chocolate chunks or chips, followed by the fresh raspberries. Take your time with this step; you want to keep the raspberries intact for juicy pockets in your cookies!
7. Scoop the Dough:
Using a tablespoon or cookie scoop, drop rounded tablespoons of dough onto your prepared baking sheets. Make sure to leave about 2 inches of space between each ball, as they will spread while baking.
8. Add a Touch of Salt:
If you’d like, sprinkle a pinch of flaky sea salt over the tops of the dough balls. This little touch adds a wonderful contrast to the sweetness!
9. Bake:
Place the baking sheets in the oven and bake for 10-12 minutes. Keep an eye on them; you want the edges to turn golden brown while the centers stay soft and slightly underbaked.
10. Cool:
Once done, remove the cookies from the oven and let them cool on the baking sheet for about 5 minutes. This helps them firm up before moving them to a wire rack to cool completely.
11. Enjoy:
Now comes the best part! Grab your chewy raspberry chocolate chip cookies and enjoy them warm with a refreshing glass of milk or your favorite drink. They’re perfect for sharing or for a cozy night in!
These cookies will be chewy with delightful bursts of tart raspberry mixed with rich chocolate. Enjoy every bite!
Can I Use Frozen Raspberries for This Recipe?
Yes, you can use frozen raspberries! Just be sure to thaw them completely and drain any excess moisture to keep your cookie dough from getting too wet. Gently fold them in to avoid crushing.
What Should I Do if My Cookies Spread Too Much?
If your cookies spread too much, try chilling the dough for at least 30 minutes before baking. This helps firm it up and maintain shape. Also, ensure your butter is softened, not melted, to prevent excessive spreading.
How to Store Leftover Cookies?
Store any leftover cookies in an airtight container at room temperature for up to 3 days. If you want them to stay chewier for longer, consider refrigerating them for up to a week. You can also freeze them for up to three months; just thaw them at room temperature when you’re ready to enjoy!
Can I Substitute the Butter with Coconut Oil?
Absolutely! You can substitute unsalted butter with coconut oil for a dairy-free option. Make sure to use it in a solid state rather than melted, and keep in mind that it may give a slight coconut flavor to your cookies.