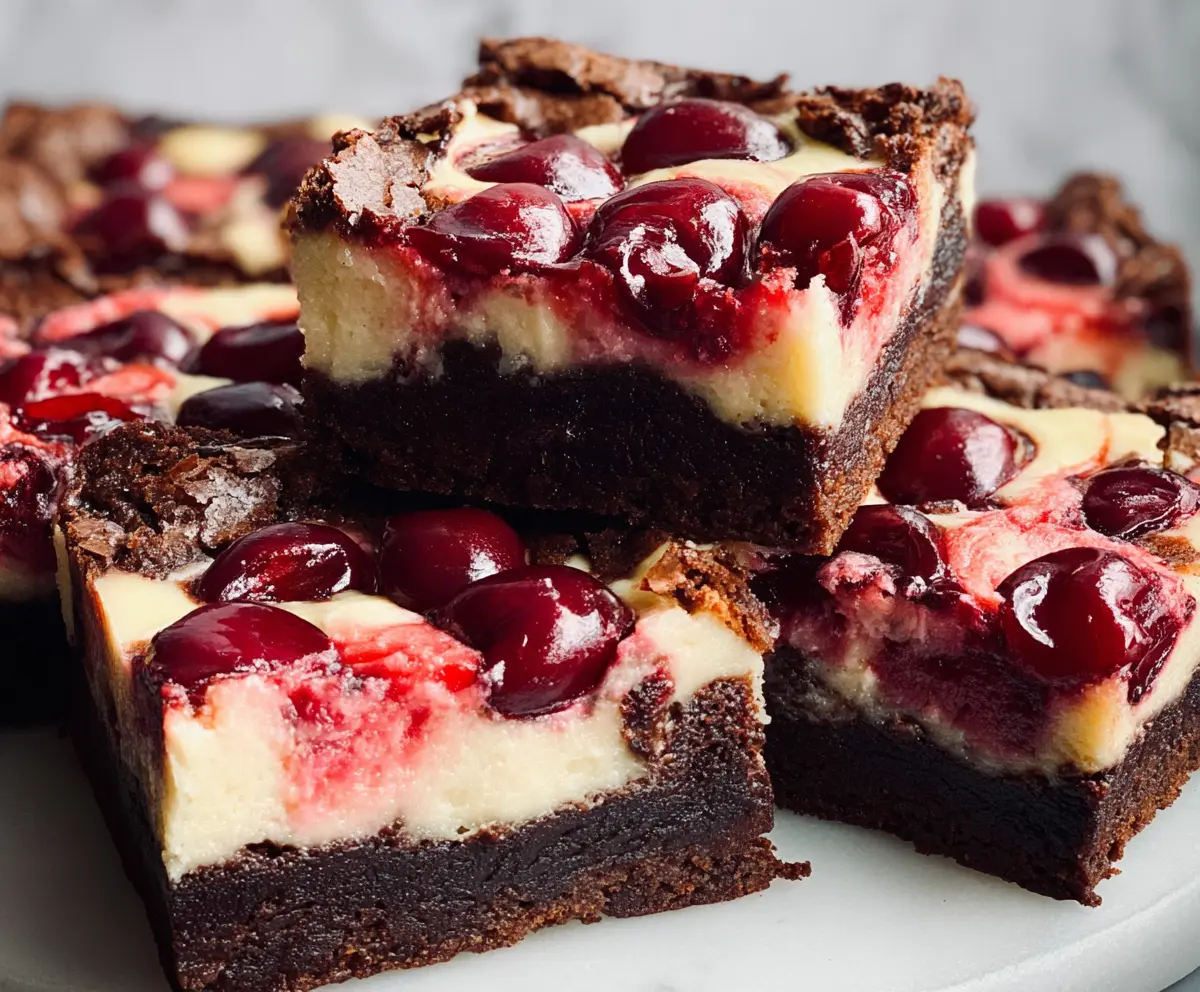
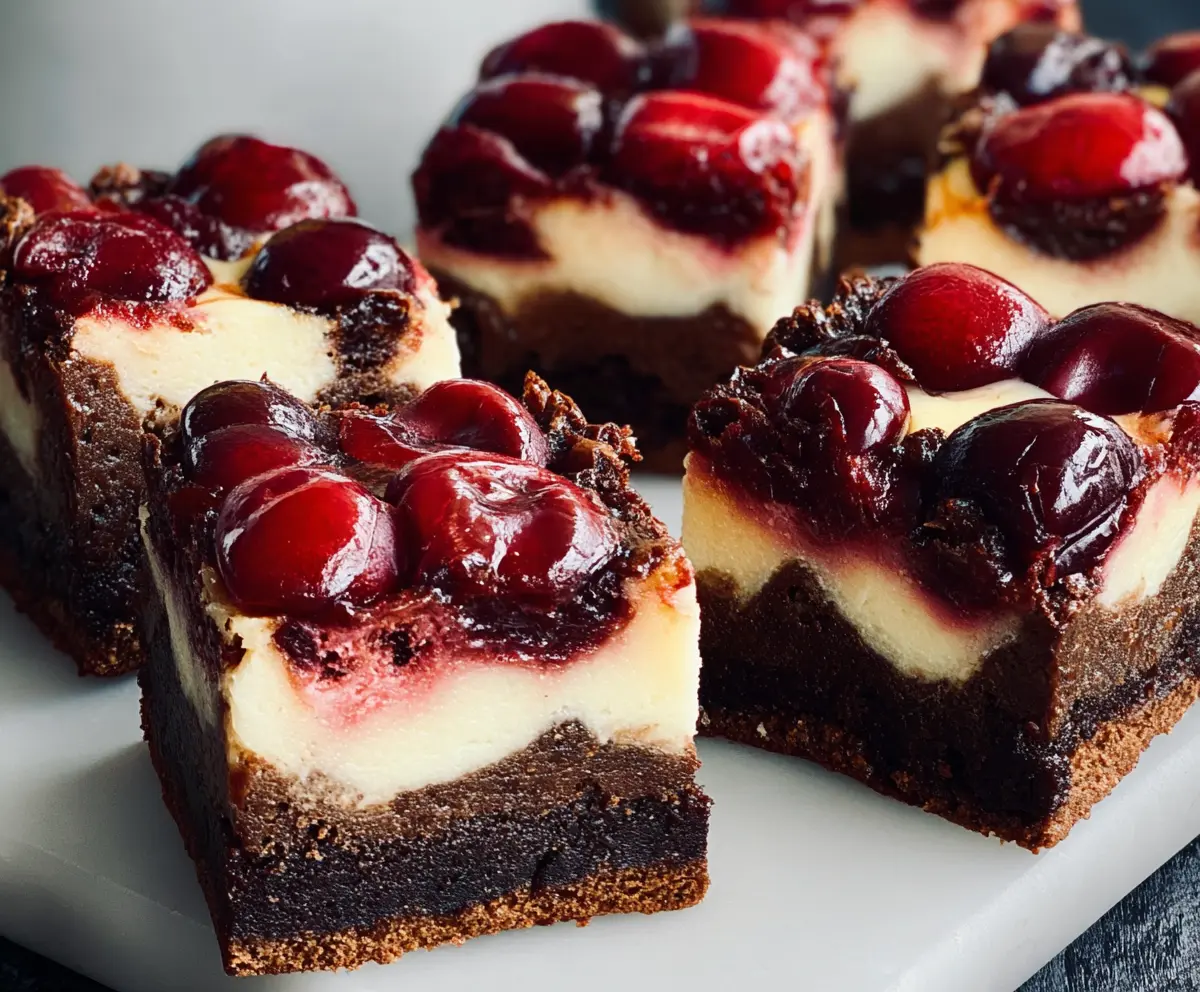
These Cherry Cheesecake Brownies are a sweet and fruity twist on the classic dessert. They have rich chocolatey brownies topped with creamy cheesecake and bright cherries on top!
Every bite is a delightful mix of flavors! I love how the cherries add a pop of color and taste, making these perfect for any occasion. Trust me, they’ll disappear fast! 🍒🍫
Key Ingredients & Substitutions
Unsalted Butter: This ingredient adds richness to the brownies. If you need to cut back on dairy, try using coconut oil or a plant-based butter alternative for similar results.
Granulated Sugar: Regular sugar works perfectly, but for a healthier twist, consider using coconut sugar or a sugar substitute like stevia. Keep in mind this can alter sweetness levels.
Cocoa Powder: Unsweetened cocoa powder gives the brownies a deep chocolate flavor. If you’re in a pinch, you can use Dutch-processed cocoa for a milder taste. Just remember it might slightly change the texture.
Cream Cheese: This is essential for the cheesecake layer. If you prefer a lighter version, try using ricotta cheese or Greek yogurt as a substitute. They create a different texture, but can still be delicious!
Pitted Cherries: Fresh cherries add a bright flavor, but feel free to use frozen cherries as long as you thaw and drain them first. You can also substitute with other fruits like raspberries or blueberries for a different twist.
How Do You Ensure Your Cheesecake Layer is Smooth and Creamy?
The key to a creamy cheesecake layer is to make sure your cream cheese is softened to room temperature. This helps it mix smoothly without lumps.
- Start by beating the cream cheese alone until it’s completely smooth before adding sugar, egg, and vanilla.
- Mix slowly on low speed, just until blended, to avoid adding too much air which can cause cracks during baking.
- A quick tip: if your mixture is too thick, add a tablespoon of milk to help it blend better!
Cherry Cheesecake Brownies
Ingredients:
For the Brownie Layer:
- 1/2 cup (1 stick) unsalted butter
- 1 cup granulated sugar
- 2 large eggs
- 1 teaspoon vanilla extract
- 1/3 cup unsweetened cocoa powder
- 1/2 cup all-purpose flour
- 1/4 teaspoon salt
- 1/4 teaspoon baking powder
For the Cheesecake Layer:
- 8 oz cream cheese, softened
- 1/3 cup granulated sugar
- 1 large egg
- 1 teaspoon vanilla extract
Topping:
- 1 cup pitted cherries (fresh or thawed if frozen)
How Much Time Will You Need?
This delicious dessert takes about 15 minutes of prep time and 35-40 minutes of baking. After baking, you’ll want to let it cool for another 2 hours in the fridge to set properly before serving. So, plan for about 3 hours in total before you can dig in!
Step-by-Step Instructions:
1. Preheat and Prepare Your Pan:
Start by preheating your oven to 325°F (165°C). While that’s heating up, line an 8×8-inch baking pan with parchment paper. If you don’t have parchment, lightly grease the pan with butter or cooking spray to ensure nothing sticks.
2. Make the Brownie Batter:
In a microwave-safe bowl or a small saucepan, melt the unsalted butter. Once melted, stir in the granulated sugar, eggs, and vanilla extract until everything is well blended and smooth.
3. Combine the Dry Ingredients:
In another bowl, sift together the cocoa powder, flour, salt, and baking powder. Slowly add this dry mix to the wet ingredients, stirring gently just until no dry spots remain. Be careful not to overmix!
4. Pour the Brownie Batter:
Pour the brownie batter into the prepared baking pan and spread it evenly. It’s okay if it’s not perfect; it’ll rise and settle while it bakes!
5. Prepare the Cheesecake Layer:
Now, grab another bowl and beat the softened cream cheese until it’s creamy and smooth. Add the sugar, egg, and vanilla, and mix until everything is well incorporated and fluffy.
6. Layer It Up:
Gently spread the cheesecake mixture over the brownie layer in the pan. Try to spread it evenly so every bite has that creamy goodness!
7. Add the Cherries:
Carefully place the pitted cherries on top of the cheesecake layer, pressing them in lightly so they stick. This adds a lovely fruity touch!
8. Bake Your Brownies:
Place the pan in the preheated oven and bake for 35-40 minutes. The cheesecake layer should be set, and you may see the edges turning slightly golden.
9. Cool and Chill:
Once baked, remove the brownies from the oven and let them cool completely in the pan on a cooling rack. After they’re cool, pop them into the fridge for at least 2 hours to chill and set up perfectly.
10. Slice and Serve:
Once chilled, take the brownies out of the fridge, remove them from the pan (if you used parchment, it should come out easily), and slice into squares. These delightful Cherry Cheesecake Brownies can be served chilled or at room temperature. Enjoy every delicious bite!
Can I Use Different Fruits for the Topping?
Absolutely! While cherries add a delightful flavor, you can substitute them with other fruits like raspberries, blueberries, or even diced strawberries. Just make sure to adjust the sweetness if the fruit you choose is particularly tart.
What Should I Do If My Brownies Are Overcooked?
If your brownies come out a bit dry from overcooking, you can drizzle them with a simple icing made from powdered sugar and milk to add moisture. Another option is to serve them with a scoop of ice cream or whipped cream for extra creaminess!
Can I Use a Different Sweetener in the Recipe?
Yes, you can use alternatives like coconut sugar or brown sugar, although this might slightly change the flavor. If you prefer a sugar substitute, options like stevia or monk fruit sweetener can work too—just check their conversion rates as they vary!
How Do I Store Leftover Brownies?
Store any leftover brownies in an airtight container in the fridge for up to a week. You can also freeze them! Just wrap individual squares tightly in plastic wrap or foil, then place them in a freezer-safe container. They will keep well for up to 3 months!