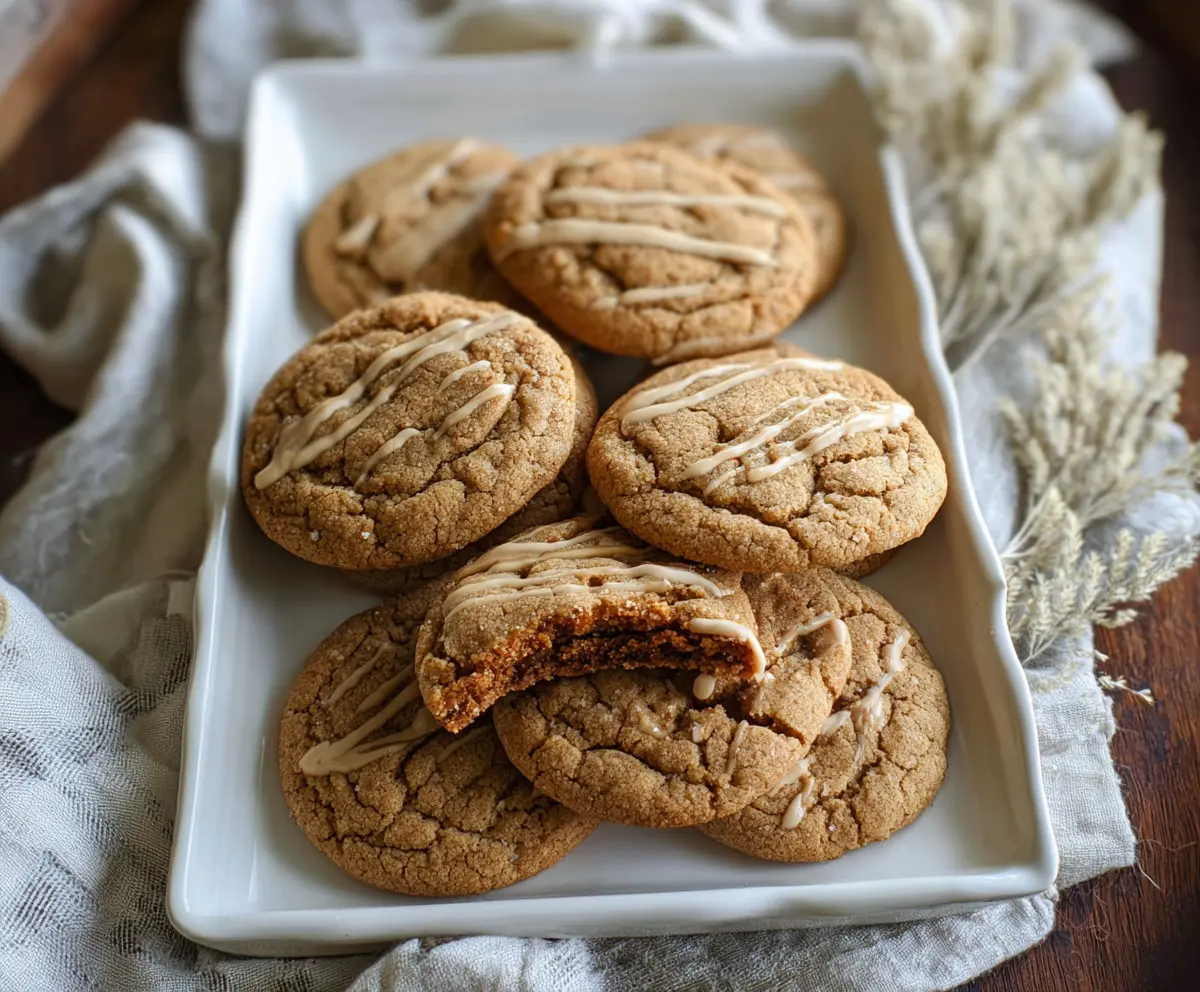
These Brown Sugar Sourdough Maple Cookies are chewy and sweet, with a delightful maple flavor that will make your taste buds dance! Plus, they use sourdough starter for an extra twist.
Honestly, who can resist a cookie that combines caramel-like brown sugar and maple goodness? I love sharing them with friends—they always ask for the recipe! 🍪
Key Ingredients & Substitutions
Unsalted Butter: Softened butter helps achieve a light and fluffy texture. If you don’t have unsalted, you can use salted butter and just skip the added salt in the recipe.
Brown Sugar: Brown sugar gives these cookies their deep flavor and moisture. If you’re out, you can mix white sugar with a bit of molasses (1 tablespoon per cup of sugar) to mimic brown sugar.
Sourdough Starter: Using sourdough starter adds a unique tang. If you don’t have any, you can use plain yogurt or buttermilk, but the flavor will shift a bit.
Maple Syrup: Pure maple syrup adds a rich sweetness. If it’s not available, honey or agave syrup can work as a substitute, but the taste will differ slightly.
Flour: All-purpose flour is perfect for cookie texture. For a gluten-free option, try a 1:1 gluten-free flour blend, but check the package for best results.
How Can I Prevent Overmixing the Dough?
Overmixing can lead to tough cookies, so here are some tips to help you avoid that:
- Mix the wet ingredients until just combined before adding the dry ingredients to retain the airy texture.
- When you add dry ingredients, gently fold with a spatula or wooden spoon. Stop as soon as no flour streaks are visible; small lumps are okay!
- Consider using a timer. Set one for a minute after combining the wet and dry ingredients. It helps to be mindful of mixing time!
How to Make Brown Sugar Sourdough Maple Cookies
Ingredients You’ll Need:
For The Cookie Dough:
- 1 cup (225g) unsalted butter, softened
- 1 1/2 cups (300g) brown sugar, packed
- 1/2 cup (120ml) sourdough starter (discard or active, unfed)
- 1 large egg
- 1 tsp vanilla extract
- 2 cups (240g) all-purpose flour
- 1/2 tsp baking soda
- 1/2 tsp salt
For The Maple Drizzle:
- 1/4 cup (60ml) pure maple syrup, plus extra for drizzle
- Optional: powdered sugar for dusting or white icing for drizzle
How Much Time Will You Need?
This cookie recipe will take about 15 minutes to prepare and 10-12 minutes to bake. After that, allow an additional 5 minutes for cooling on the baking sheet, and then let them cool completely on a wire rack. In total, plan for around 30-35 minutes!
Step-by-Step Instructions:
1. Preheat and Prepare:
First, preheat your oven to 350°F (175°C). While it heats up, line a baking sheet with parchment paper to prevent the cookies from sticking.
2. Cream the Butter and Sugar:
In a large mixing bowl, add the softened butter and packed brown sugar. Using a hand mixer or a wooden spoon, beat them together until the mixture is light and fluffy. This will help create a nice, airy texture for your cookies!
3. Mix in the Wet Ingredients:
Now, it’s time to add in the sourdough starter, egg, vanilla extract, and maple syrup. Stir everything together until well combined and smooth. It’s like a sweet, buttery hug for your taste buds!
4. Combine the Dry Ingredients:
In a separate bowl, whisk together the all-purpose flour, baking soda, and salt. This ensures that the baking soda is evenly distributed and helps the cookies rise perfectly!
5. Mix It All Together:
Gradually add the dry ingredients to your wet mixture. Gently stir until just combined—don’t overmix, or you might end up with tough cookies. We want them nice and chewy!
6. Scoop the Dough:
Using a cookie scoop or a spoon, drop spoonfuls of dough onto the prepared baking sheet. Leave about 2 inches of space between each cookie. Gently flatten each one slightly with your fingers or the back of a spoon for a lovely shape.
7. Bake the Cookies:
Place your baking sheet in the preheated oven and bake for 10-12 minutes. The edges should be set, but the centers should still look a little soft—don’t worry, they will firm up as they cool!
8. Cool Off:
Once baked, remove the cookies from the oven and let them cool on the baking sheet for about 5 minutes. After that, gently transfer them to a wire rack to cool completely. This helps them stay nice and chewy!
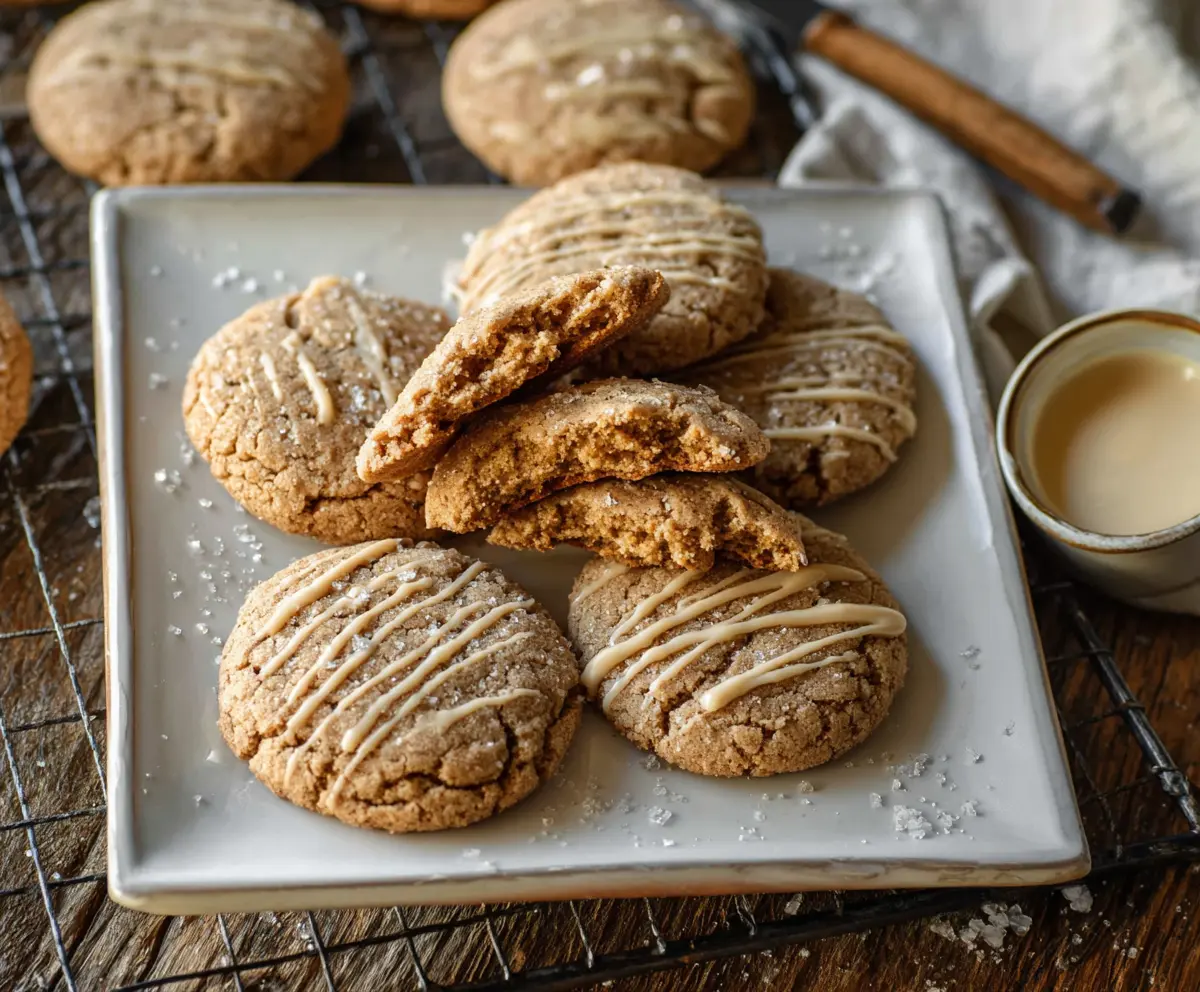
9. Drizzle with Sweetness:
Once the cookies are cooled, drizzle a small amount of maple syrup or a maple-flavored glaze over the top for that extra touch of sweetness. Optional: you can also dust them with powdered sugar or drizzle with white icing.
10. Serve and Enjoy:
Your Brown Sugar Sourdough Maple Cookies are ready to be enjoyed! They’re chewy, with a rich caramel flavor and a mild tang from the sourdough starter. Store any leftovers in an airtight container to keep them fresh!
Can I Use Cold Butter for This Recipe?
It’s best to use softened butter for the right texture. If your butter is cold, you can cut it into small pieces and let it sit at room temperature for about 15-20 minutes or gently microwave it for 5-10 seconds to soften it without melting.
How to Achieve Chewy Cookies?
To get chewy cookies, avoid overmixing the dough, as this can incorporate too much air. Also, ensuring you don’t overbake them will keep them soft in the center, leading to a chewy texture once cooled.
How to Store Leftover Cookies?
Store your leftover cookies in an airtight container at room temperature for up to 5 days. If you’d like to keep them fresh longer, you can freeze them in a freezer-safe bag for up to 3 months. Just thaw them at room temperature before enjoying!
Can I Make These Cookies Vegan?
Absolutely! You can replace the egg with a flax egg (1 tablespoon of ground flaxseed mixed with 2.5 tablespoons of water, let sit for 5 minutes), and use vegan butter to keep the recipe plant-based. Adjust the other ingredients accordingly if needed!