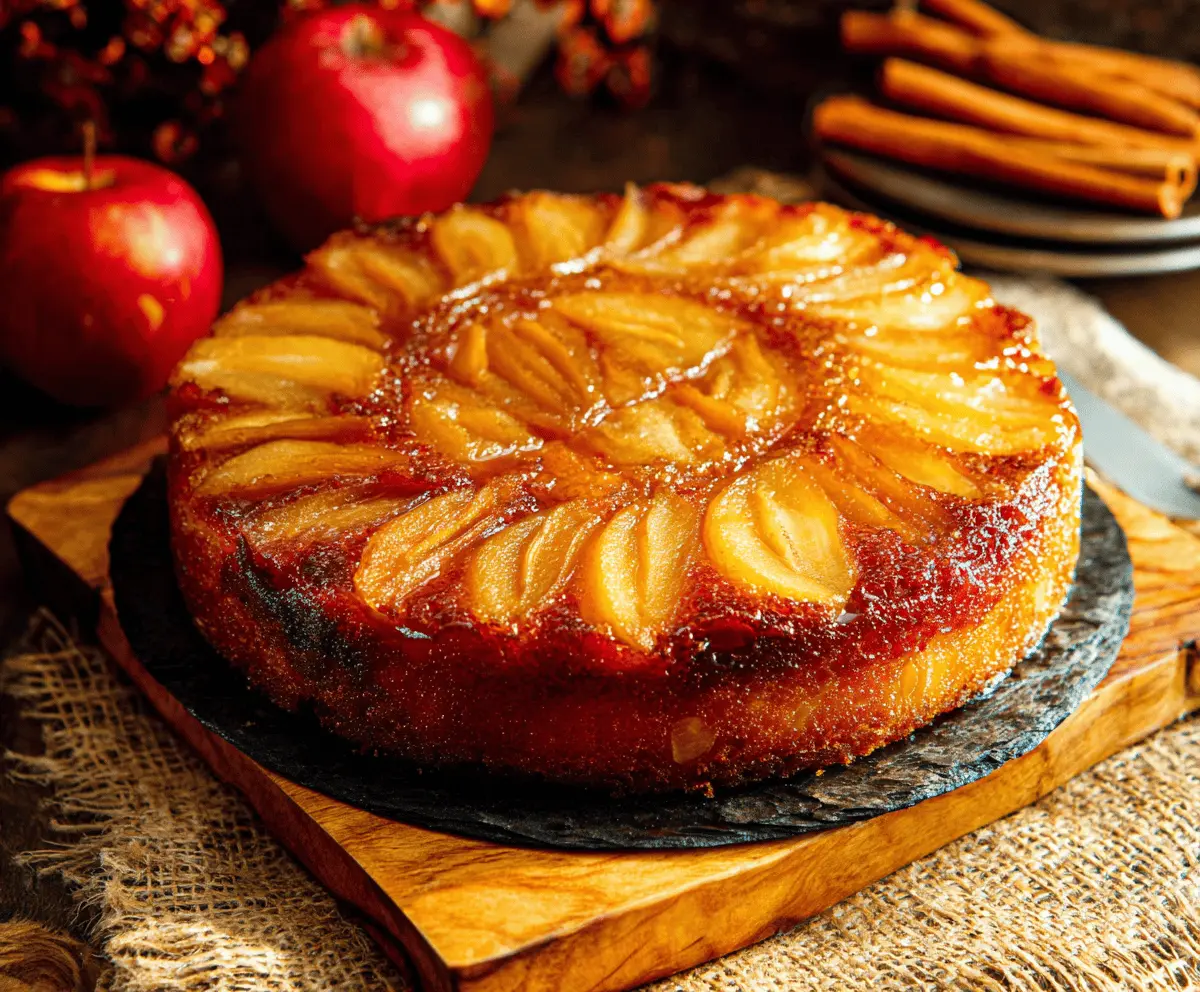
This Apple Upside Down Cake is a fun twist on dessert! Sweet, juicy apples baked under a soft, fluffy cake make for a delightful treat that’s hard to resist.
Just flip it over when it’s done, and watch the magic happen! I love serving it warm with a scoop of ice cream—talk about cozy vibes!
Key Ingredients & Substitutions
Apples: Gala and Honeycrisp are my go-to choices. They’re sweet and hold their shape well. You can also use Granny Smith for a tart contrast, or Fuji for extra sweetness. If fresh apples aren’t available, canned apple slices in juice can work as a substitute but be sure to drain them well.
Butter: Unsalted butter is best, so you can control the saltiness in your cake. If you’re looking for a dairy-free option, coconut oil or a plant-based butter works great. Just remember to melt it first for easy mixing!
Brown Sugar: Light brown sugar gives a lovely caramel flavor. If you’re out, you can substitute with granulated sugar mixed with a little molasses, or use dark brown sugar for a deeper flavor. Just adjust according to your taste preference!
Milk: Whole milk makes for a rich cake, but you can easily swap it with buttermilk for added tang! For dairy-free, use almond, oat, or soy milk. No need to worry about drastic flavor changes!
How Do You Get the Cake to Rise and Stay Moist?
The key to a moist cake is properly creaming the butter and sugar. This step incorporates air, making your cake light. Just beat them together until it’s fluffy and pale. Use room temperature ingredients—they blend better.
- Don’t overmix your batter after adding the flour; this can make the cake dense. Mix until just combined.
- Check for doneness at the lower end of the baking time. An inserted toothpick should come out clean, but a few crumbs are okay.
Letting the cake cool for a few minutes before flipping it helps it to hold together better. Running a knife around the edges ensures it releases easily from the pan!
Apple Upside Down Cake
Ingredients You’ll Need:
For the Topping:
- 3 medium apples (such as Gala or Honeycrisp), peeled, cored, and sliced into thin wedges
- 1/2 cup (1 stick) unsalted butter, divided
- 3/4 cup packed light brown sugar
- 1 teaspoon ground cinnamon
- 1/4 teaspoon ground nutmeg (optional)
For the Cake:
- 1 1/2 cups all-purpose flour
- 1 1/2 teaspoons baking powder
- 1/4 teaspoon salt
- 1/2 cup granulated sugar
- 2 large eggs
- 1 teaspoon vanilla extract
- 1/2 cup whole milk (or buttermilk)
How Much Time Will You Need?
This delicious cake will take about 15-20 minutes to prep and around 45-55 minutes to bake. Plus, you’ll want to let it cool for about 10-15 minutes in the pan before flipping it out. All in all, expect to spend a little over an hour to enjoy this delightful dessert!
Step-by-Step Instructions:
1. Preheat and Prepare the Pan:
First, preheat your oven to 350°F (175°C). Take a 9-inch round cake pan or a springform pan and grease it well so that the cake can come out smoothly later on.
2. Make the Topping:
In a small saucepan over medium heat, melt 1/4 cup (4 tablespoons) of butter. Add in the brown sugar, ground cinnamon, and nutmeg (if you’re using it). Stir everything together until it’s combined and smooth. Once done, pour the mixture into the prepared cake pan and make sure to spread it out evenly.
3. Arrange the Apples:
Now it’s time to arrange the apple slices! Lay them in a single layer on top of the butter and sugar mixture, making sure to overlap them slightly for full coverage. This will be the beautiful base of your cake.
4. Mix the Dry Ingredients:
In another medium bowl, whisk together the all-purpose flour, baking powder, and salt. This will help to aerate the flour for a lighter cake.
5. Cream the Butter and Sugar:
In a large mixing bowl, beat the remaining 1/4 cup of butter with the granulated sugar using an electric mixer. Mix until the mixture is light and fluffy—this should take a few minutes!
6. Add the Eggs and Vanilla:
Add the eggs one at a time to the butter-sugar mixture, making sure to beat well after each addition. Now stir in the vanilla extract to give flavor to your cake.
7. Combine the Mixtures:
Alternately add the dry ingredient mixture and the milk to the butter mixture. Start with the dry ingredients and end with them as well. Mix everything together until just combined—don’t worry if there are a few lumps; overmixing can make the cake dense!
8. Pour the Batter:
Gently spoon the batter over the arranged apples in the cake pan. Use a spatula to spread the batter evenly across the top.
9. Bake!
Place the cake in the oven and bake for 45-55 minutes. You’ll know it’s done when a toothpick inserted into the center comes out clean. Keep an eye on it as baking times may vary slightly based on your oven.
10. Cool the Cake:
Once baked, take the cake out of the oven and let it cool in the pan for about 10-15 minutes. This helps it set and makes flipping it easier.
11. Invert the Cake:
After cooling, carefully run a knife around the edges to loosen the cake. Take a serving plate and place it upside down over the cake pan. Quickly invert the cake onto the plate. If any apple slices stick, gently lift them back onto the cake.
12. Serve and Enjoy:
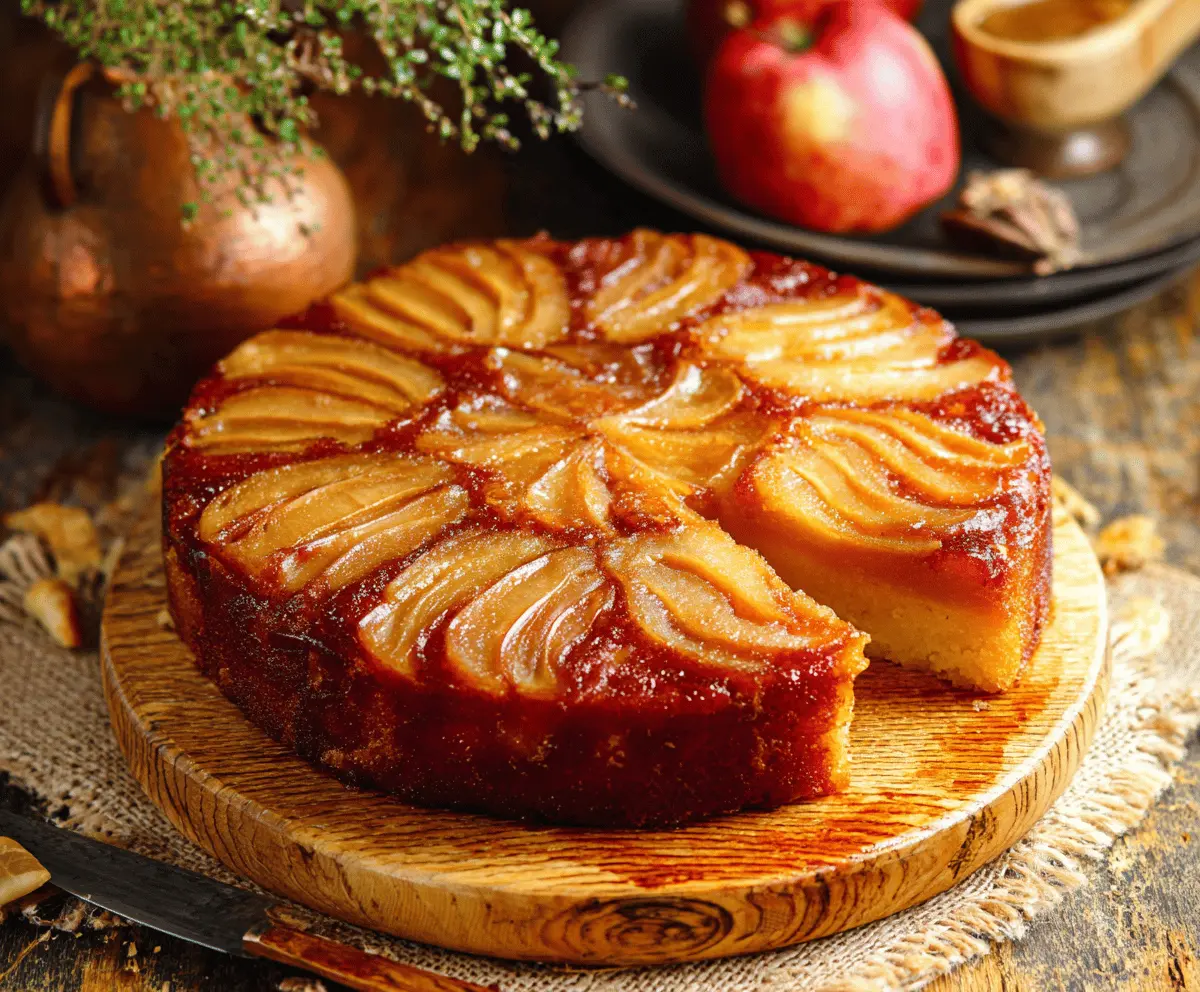
Let the cake cool completely before slicing. You can serve it warm or at room temperature. It’s fantastic on its own or topped with whipped cream or vanilla ice cream for a special treat!
Enjoy your lovely apple upside down cake with its caramelized apple topping and moist, tender crumb—perfect for any occasion!
Can I Use Different Types of Apples?
Absolutely! You can use any variety you prefer, such as Granny Smith for a tart flavor or Fuji for extra sweetness. Just ensure the apples are firm so they hold their shape while baking.
Can I Make This Recipe Ahead of Time?
Yes, you can prepare the cake batter and arrange the apples in the pan, then cover it and refrigerate it before baking. Just bring it back to room temperature before popping it in the oven. You can also bake the cake a day in advance, then cover it and store it at room temperature.
How Should I Store Leftovers?
Keep any leftovers in an airtight container at room temperature for up to 2 days. If you want to store it longer, you can refrigerate it for up to a week, but it’s best served fresh. To reheat, simply warm slices in the microwave for a few seconds.
Can I Substitute the Butter?
Yes! For a dairy-free option, you can use coconut oil or a plant-based butter. Just make sure to melt it first for easier mixing. The flavor of your cake may change slightly, but it will still be delicious!