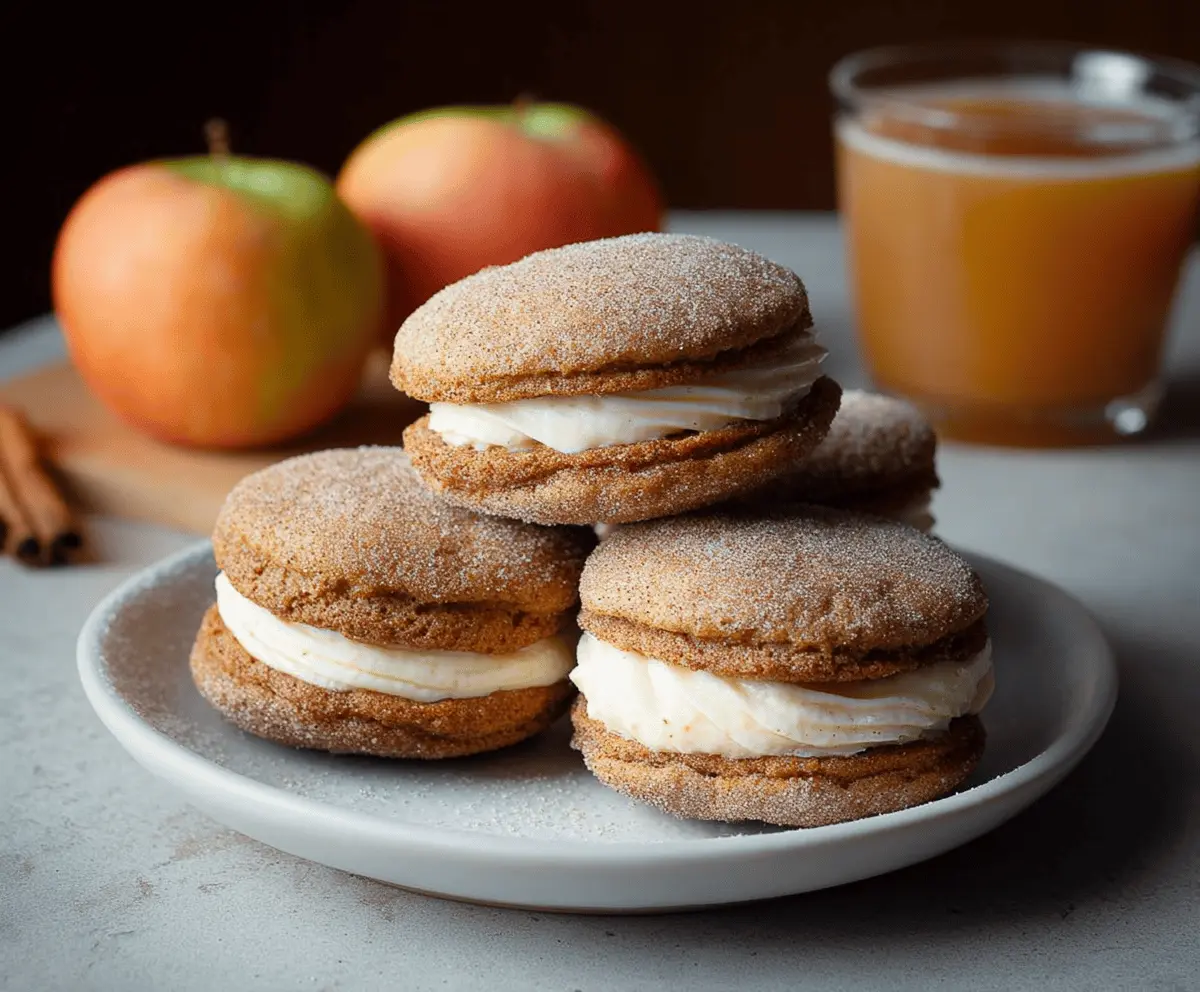
Apple Cider Whoopie Pies are soft, spiced cookies filled with a creamy apple flavored filling. They taste like fall in every bite—sweet, cozy, and just delightful!
These treats always make me smile. I love packing them in lunchboxes; it adds a little sweetness to the day. Plus, who doesn’t love a cookie sandwich? 😋
Key Ingredients & Substitutions
Apple Cider: The star of this recipe! Fresh apple cider gives a lovely flavor. If you can’t find it, you can use apple juice, but the taste won’t be as rich. You can also make your own by juicing apples if you’re up for it!
Flour: All-purpose flour is what you need, but if you’re looking for a gluten-free option, a gluten-free 1:1 baking blend can work well. Just keep an eye on the texture. It may differ slightly.
Spices: The mix of cinnamon, nutmeg, cloves, and ginger creates warmth in these pies. If you’re missing one, feel free to use apple pie spice instead; it usually combines many of these flavors.
Cream Cheese: For the filling, regular cream cheese works best for its tanginess. If you’re dairy-free, look for a vegan cream cheese alternative to keep that creamy texture while avoiding dairy.
How Do You Get the Cookies to Turn Out Perfectly Soft?
The key to soft cookies is not overmixing the dough and keeping an eye on the baking time. Here’s how to get it right:
- Once you mix the dry ingredients into the wet mixture, stop mixing as soon as there are no visible flour pockets. This helps keep the cookies tender.
- Check the cookies after 10 minutes. They should appear slightly soft in the center when you take them out; they will firm up as they cool.
- Let them cool completely on a wire rack for the best texture before adding the filling.
With these tips, your Apple Cider Whoopie Pies will turn out perfect every time! Enjoy the cozy flavors as you take each bite. 🍏🍂

How to Make Delicious Apple Cider Whoopie Pies
Ingredients You’ll Need:
For the Whoopie Pie Cookies:
- 2 cups all-purpose flour
- 1 1/2 tsp baking powder
- 1/2 tsp baking soda
- 1/2 tsp salt
- 1 tsp ground cinnamon
- 1/2 tsp ground nutmeg
- 1/4 tsp ground cloves
- 1/4 tsp ground ginger
- 1/2 cup unsalted butter, softened
- 1 cup granulated sugar
- 1 large egg
- 1 tsp vanilla extract
- 1/2 cup apple cider
- 1 tbsp apple cider vinegar
For the Filling:
- 8 oz cream cheese, softened
- 1/4 cup unsalted butter, softened
- 2 cups powdered sugar
- 1 tsp vanilla extract
- 2 tbsp apple cider, reduced to syrup (heat apple cider in a pan until thick and syrupy)
For Coating:
- 1/4 cup granulated sugar
- 1 tsp ground cinnamon
How Much Time Will You Need?
This recipe takes about 20 minutes to prepare and 12 minutes to bake. After baking, let the cookies cool for about 30 minutes before assembling the whoopie pies. So, plan for around 1 hour to make these yummy treats!
Step-by-Step Instructions:
1. Prepare the Apple Cider Reduction:
Start by pouring the 1/2 cup of apple cider into a small saucepan and simmer it over medium heat. Keep an eye on it and let it reduce by about half until it becomes syrupy. Set it aside to cool while you prepare the cookies.
2. Make the Cookies:
Preheat your oven to 350°F (175°C) and line two baking sheets with parchment paper. In a medium bowl, whisk together the flour, baking powder, baking soda, salt, and spices (cinnamon, nutmeg, cloves, and ginger).
In a large bowl, cream together the softened butter and granulated sugar until they are light and fluffy. Add in the egg and vanilla extract, mixing well. Then, mix in the cooled apple cider syrup and apple cider vinegar. Gradually add the dry ingredients to the wet ingredients, mixing just until combined. The batter should be thick and slightly sticky.
3. Shape and Bake Cookies:
Using a cookie scoop or tablespoon, drop rounded dollops of batter onto the prepared baking sheets, making sure to space them about 2 inches apart. Bake for 10-12 minutes or until the cookies are set and spring back when lightly pressed. While they are still warm, dust the tops with the sugar and cinnamon mixture. Once baked, allow the cookies to cool completely on wire racks.
4. Prepare the Filling:
In a bowl, beat the softened cream cheese and butter until smooth and creamy. Gradually add in the powdered sugar and vanilla extract, mixing until fully combined and fluffy. Finally, stir in the reduced apple cider syrup until you achieve a smooth, spiced filling.
5. Assemble the Whoopie Pies:
Pair the cooled cookies so that you have matching sizes. On the flat side of one cookie in each pair, pipe or spoon a generous amount of the cream cheese filling. Then, top with the other cookie, gently pressing down to spread the filling to the edges.
6. Serve and Enjoy:
You can serve the whoopie pies immediately, or refrigerate them until you’re ready to enjoy. If you chill them, let them come to room temperature before serving for the best texture. These delightful treats are perfect for sharing or enjoying all by yourself!
These apple cider whoopie pies are a cozy fall treat that combines spiced cookies with a rich apple-flavored cream cheese filling. Happy baking!
Can I Use Store-Bought Apple Cider Instead of Fresh?
Absolutely! Store-bought apple cider works perfectly in this recipe and saves time. Just make sure to choose a high-quality cider for the best flavor.
What Can I Substitute for Cream Cheese in the Filling?
If you’re looking for a dairy-free option, you can use vegan cream cheese, which mimics the texture well. Another alternative is to use whipped coconut cream for a lighter filling, though it will have a different flavor.
How Do I Store Leftover Whoopie Pies?
Store any leftover whoopie pies in an airtight container in the refrigerator for up to 4 days. They’re best enjoyed at room temperature, so let them sit out for a bit before serving.
Can I Freeze These Whoopie Pies?
Yes! You can freeze whoopie pies for up to 2 months. For best results, freeze them before filling or wrap assembled pies tightly in plastic wrap and then aluminum foil to prevent freezer burn. Thaw in the fridge before enjoying!