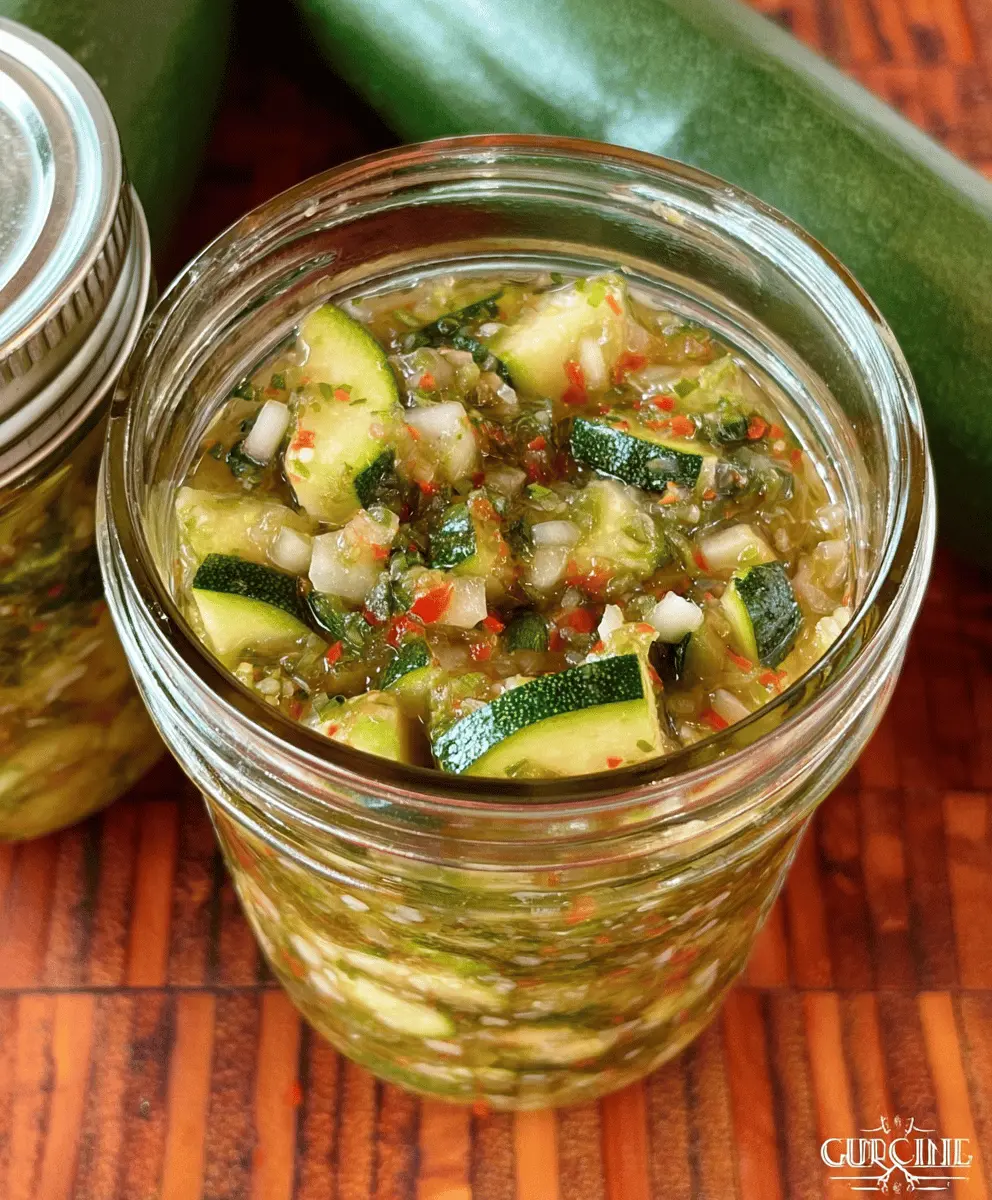
This easy homemade zucchini relish is a perfect way to capture the fresh taste of summer! It combines zucchini, onions, and bell peppers with tangy vinegar, making it a delicious addition to sandwiches and burgers.
Canning it means you can enjoy this tasty relish all year round! I love adding it to my hot dogs for an extra kick. Plus, making it at home is a fun way to keep busy in the kitchen!
Key Ingredients & Substitutions
Zucchini: Use fresh, firm zucchinis for the best texture. If you don’t have zucchini, yellow squash works well as a substitute and provides a similar taste and consistency.
Vinegar: White vinegar gives the relish its tanginess. If you want a different flavor, consider using apple cider vinegar, which will add a bit of sweetness and depth.
Onions: Onions add sweetness and flavor. Yellow onions are a good choice, but if you’re looking for a milder flavor, try using sweet onions like Vidalia. If you’re avoiding onions, you can increase the bell pepper amount.
Bell Peppers: The mix of green and red bell peppers adds color and sweetness. You can swap in other colors of bell peppers or even use jalapeños for a spicy kick. Just be sure to chop them finely!
How Do I Ensure My Zucchini Relish Stays Crunchy?
To keep that perfect crunch in your zucchini relish, proper salting and rinsing are key. Here’s how to do it:
- Mix the chopped zucchini and onions with pickling salt, and let it rest. This draws out moisture and helps maintain crunchiness.
- Rinse the veggie mix thoroughly after the resting period. This prevents the relish from being too salty.
- Short cooking times are crucial! Cook the vegetables just long enough to heat through without making them mushy.
Following these steps should ensure your zucchini relish has a delightful crunch that complements its vibrant flavors! Enjoy canning!
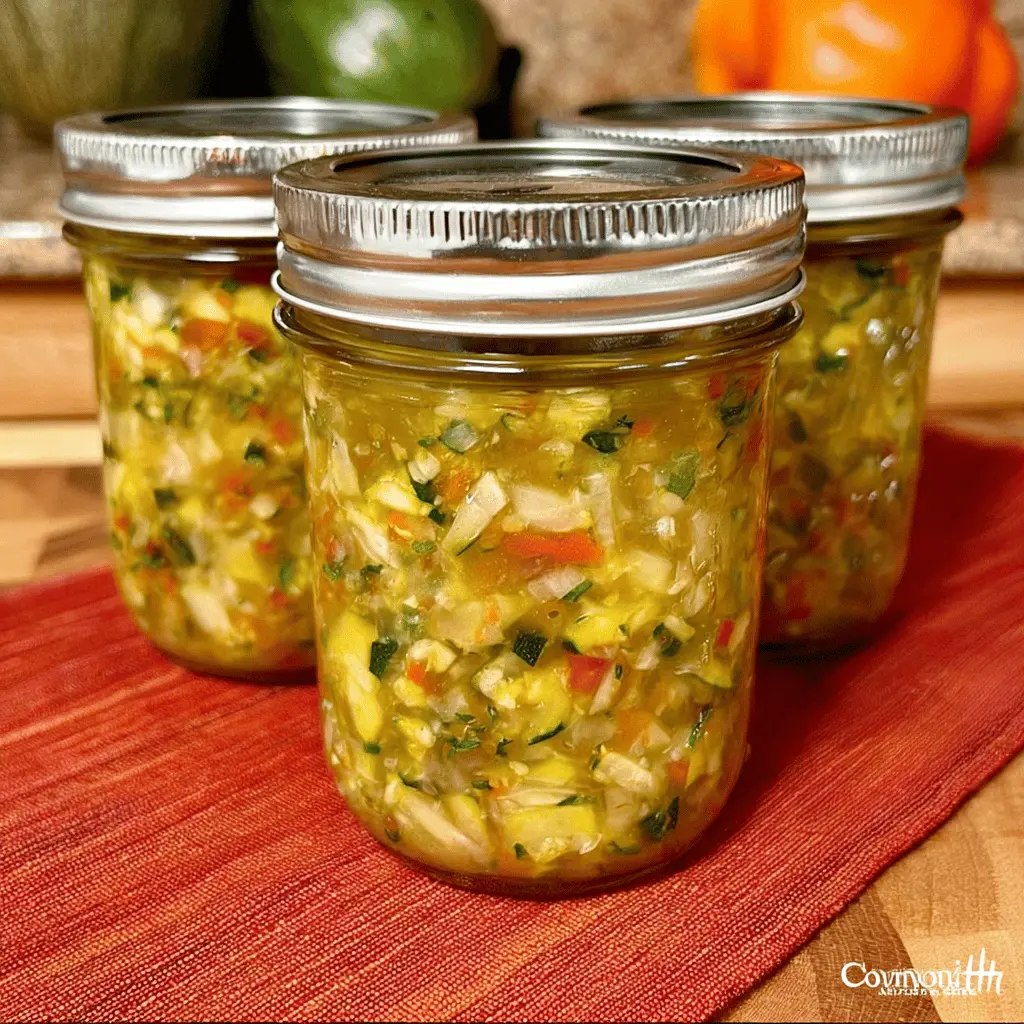
Easy Homemade Zucchini Relish Recipe for Canning
Ingredients You’ll Need:
For the Relish:
- 6 cups finely chopped zucchini (about 4 medium zucchinis)
- 3 cups finely chopped onions
- 2 cups finely chopped green bell pepper
- 1 cup finely chopped red bell pepper
- 1/4 cup pickling salt
- 6 cups white vinegar (5%)
- 6 cups granulated sugar
- 1 tablespoon mustard seed
- 1 tablespoon celery seed
- 1 tablespoon ground turmeric
How Much Time Will You Need?
This zucchini relish recipe takes about 30 minutes of active prep time, with an additional 2 hours for salting and resting the vegetables. You’ll also need about 10 minutes for the final cooking and canning process. Altogether, you can expect to spend around 2.5 hours to make and preserve your delicious relish!
Step-by-Step Instructions:
1. Prepare the Vegetables:
Start by washing all the vegetables thoroughly. Then, finely chop the zucchinis, onions, green bell pepper, and red bell pepper. Try to keep the pieces small and even for the best texture in the relish.
2. Salting the Vegetables:
In a large bowl, combine the chopped zucchini, onions, green bell pepper, red bell pepper, and pickling salt. Mix everything together until well combined. Let this sit for about 2 hours, stirring occasionally. This will help draw out moisture from the vegetables.
3. Rinse and Drain:
After the resting period, rinse the vegetable mixture thoroughly under cold water to remove the excess salt. Drain the veggies well, ensuring no water remains in the mixture.
4. Make the Vinegar Mixture:
In a large pot, combine the white vinegar, granulated sugar, mustard seed, celery seed, and ground turmeric. Bring this mixture to a boil over medium heat, stirring until the sugar dissolves completely.
5. Cook the Relish:
Once the vinegar mixture is boiling, carefully add the drained vegetables to the pot. Return the mixture to a boil and cook for about 10 minutes, stirring occasionally. This will allow the flavors to meld together.
6. Prepare the Jars:
While the relish is cooking, sterilize your canning jars and lids by boiling them in water for about 10 minutes. This step is crucial to ensure your relish stays safe and fresh.
7. Fill the Jars:
Carefully ladle the hot zucchini relish into the prepared jars, leaving about 1/2 inch of headspace at the top. This space helps with sealing the jars.
8. Seal the Jars:
Wipe the rims of the jars clean to remove any residue. Place the sterilized lids on the jars and screw on the bands just until fingertip tight—don’t over-tighten!
9. Process the Jars:
Process the jars in a boiling water bath for 10 minutes to seal. Make sure the jars are fully submerged in water during this time.
10. Cool and Check Seals:
After processing, carefully remove the jars and let them cool undisturbed for 12 to 24 hours. Once cool, check the seals by pressing down in the center of each lid. If it doesn’t pop back, it’s sealed!
11. Store Your Relish:
Store your sealed jars in a cool, dark place. Refrigerate any jars that don’t seal properly after cooling. Enjoy your homemade zucchini relish on sandwiches, burgers, or as a delicious condiment for your meals!
Happy canning!
FAQ for Easy Homemade Zucchini Relish Recipe
Can I Use Different Vegetables in This Relish?
Absolutely! While this recipe calls for zucchini, onions, and bell peppers, you can customize it to your taste. Try adding diced carrots or some chopped jalapeños for a spicier kick! Just ensure to maintain similar ratios for a balanced flavor.
How Can I Adjust the Sugar Level in This Recipe?
If you prefer a less sweet relish, feel free to reduce the sugar by about one cup. Keep in mind that sugar helps with preservation, so if you cut back too much, you may want to consume it sooner or adjust your canning method.
What’s the Best Way to Store Leftover Relish?
Store any opened jars in the refrigerator, where they will keep for up to 4 weeks. Unopened jars can be kept in a cool, dark place for up to a year. Remember to check for any signs of spoilage before consuming!
How Do I Ensure My Jars Seal Properly?
Make sure to wipe the rims of the jars clean before sealing to remove any residue. Additionally, when processing in the water bath, ensure the jars are fully submerged and not crowded. If using a canner, follow the manufacturer’s instructions for sealing to guarantee the best results.