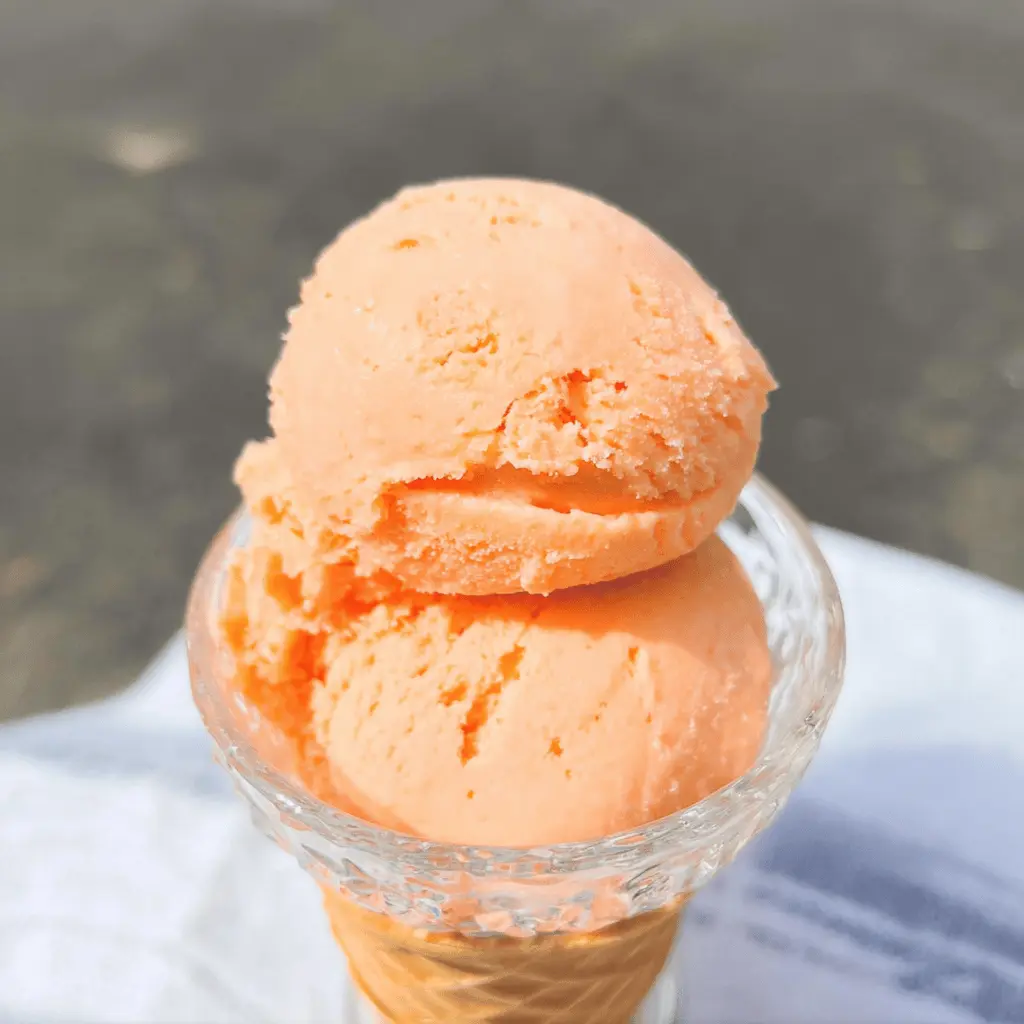
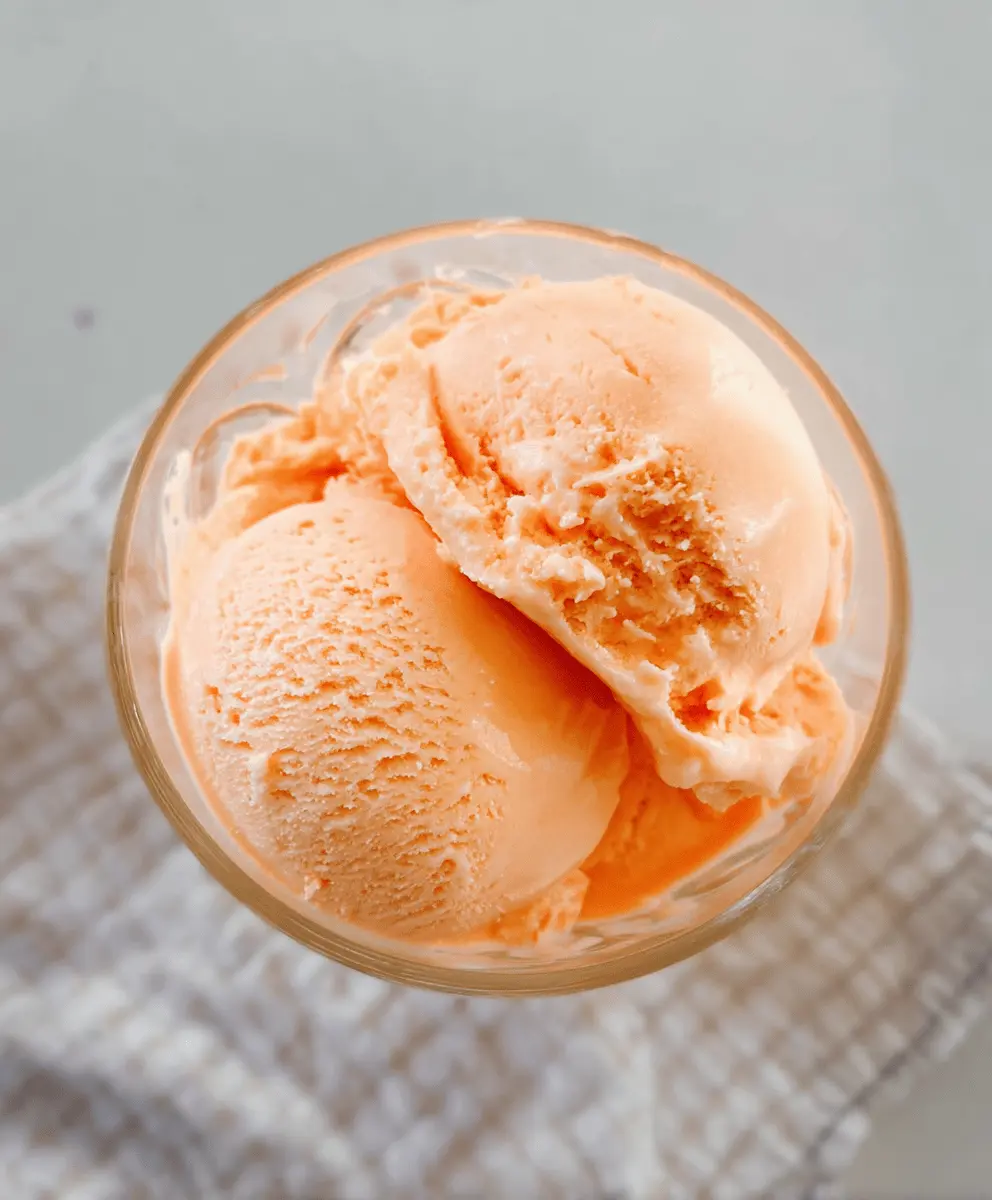
This Easy Ninja Creami Orange Soda Ice Cream is a fun and refreshing treat! It combines your favorite orange soda with creamy goodness for a delightful dessert.
Making this ice cream is a breeze! I love whipping it up in minutes. It’s like enjoying a fizzy treat but in a scoopable form. Perfect for hot days! 🍦✨
Key Ingredients & Substitutions
Orange Soda: This is the star of the show! You can use any brand of orange soda you like. If you want a healthier option, try a sugar-free orange soda or a sparkling orange juice. It’ll still give you the lovely flavor.
Heavy Cream: Heavy cream gives the ice cream that rich, creamy texture. If you’re avoiding dairy, go for coconut cream or a plant-based cream alternative, which works well too and adds a subtle coconut flavor.
Sweetened Condensed Milk: This ingredient adds sweetness and creaminess. If you need a dairy-free substitute, try using coconut condensed milk or a dairy-free version available in stores.
Vanilla Extract: A touch of vanilla enhances the overall flavor. If you’re out of vanilla, you could skip it or use a bit of orange extract to amp up that citrus taste!
Orange Food Coloring: This is optional! If you want a vibrant look, you could use it, but I usually skip this step. The ice cream’s natural color is beautiful enough!
How Do I Prevent Ice Crystals When Freezing the Ice Cream?
Preventing ice crystals is key to getting that smooth texture in your ice cream. Here are some tips to ensure your ice cream turns out creamy:
- Make sure to mix the ingredients gently but thoroughly to retain some carbonation from the soda.
- Freeze the mixture for a full 24 hours. This ensures it’s completely solid before processing.
- After processing in the Ninja Creami, check the texture. If it feels crumbly, simply use the “Re-spin” function once. This is my secret tip for achieving a creamy finish!
- Store any leftovers in an airtight container to minimize ice formation while it’s back in the freezer.
Enjoy making your Easy Ninja Creami Orange Soda Ice Cream! It’s a fun, easy treat that’s perfect for warm days!
Easy Ninja Creami Orange Soda Ice Cream
Ingredients You’ll Need:
- 2 cups orange soda (chilled)
- 1/2 cup heavy cream
- 1/4 cup sweetened condensed milk
- 1 tsp vanilla extract
- A pinch of salt
- Optional: a few drops of orange food coloring for a more vibrant color
How Much Time Will You Need?
This delicious orange soda ice cream takes about 10 minutes of prep time. You’ll need to freeze the mixture for at least 24 hours, so plan ahead! The total time with freezing is about 1 day, but the actual hands-on time is minimal.
Step-by-Step Instructions:
1. Mix the Ingredients:
In a mixing bowl, combine the chilled orange soda, heavy cream, sweetened condensed milk, vanilla extract, and a pinch of salt. Gently stir the mixture to combine, being careful not to lose too much carbonation from the soda. We want to keep that fizzy goodness!
2. Add Color (Optional):
If you’d like a brighter orange hue, add a few drops of orange food coloring and stir again until the color is evenly distributed. This step is completely optional but fun if you’re looking for a pop of color!
3. Prepare for Freezing:
Pour the mixture into the Ninja Creami pint container, making sure not to fill it past the maximum fill line. Close the lid securely and place the container in your freezer. Let it freeze for at least 24 hours to ensure it is fully solidified.
4. Process in the Ninja Creami:
After the mixture has frozen, remove the pint from the freezer and take off the lid. Insert the pint into your Ninja Creami machine. Select the “Ice Cream” function and let it process as per your machine’s instructions. This is where the magic happens!
5. Finishing Touches:
If the texture appears too crumbly after processing, you can use the “Re-spin” function once to achieve a smoother and creamier finish. This little trick will help you get that perfect scoop.
6. Serve and Enjoy:
Use a scoop to serve the delightful orange soda ice cream into bowls or cones. Enjoy it right away for the best flavor and texture!
7. Storing Leftovers:
If you have any leftovers, simply store them in an airtight freezer container. When you want to enjoy them again, let them sit out for a few minutes to soften slightly or re-spin in the Ninja Creami for the best texture.
Now, dig in and relish the creamy, fizzy joy of your homemade Easy Ninja Creami Orange Soda Ice Cream! Perfect for warm summer days or any time you need a sweet treat!
FAQ for Easy Ninja Creami Orange Soda Ice Cream
Can I Use a Different Flavor of Soda?
Absolutely! Feel free to experiment with other flavored sodas like grape, lemon-lime, or even cream soda to create different ice cream varieties. Just keep the same proportions for the remaining ingredients.
What If I Don’t Have a Ninja Creami Machine?
No problem! If you don’t have a Ninja Creami, you can pour the mixture into a regular ice cream maker and churn according to the manufacturer’s instructions. Alternatively, you can freeze it in a shallow container, stirring every 30 minutes until it reaches a creamy consistency.
How Long Can I Store the Ice Cream?
Your orange soda ice cream can be stored in the freezer for up to 2 weeks. Just make sure it’s in an airtight container to prevent ice crystals from forming. If it hardens too much, let it sit out for a few minutes to soften before scooping.
Can I Make This Ice Cream Dairy-Free?
Yes, you can! Substitute the heavy cream with coconut cream and use coconut sweetened condensed milk or any dairy-free alternatives you prefer. This will give you a delicious dairy-free version that still retains great flavor and texture.