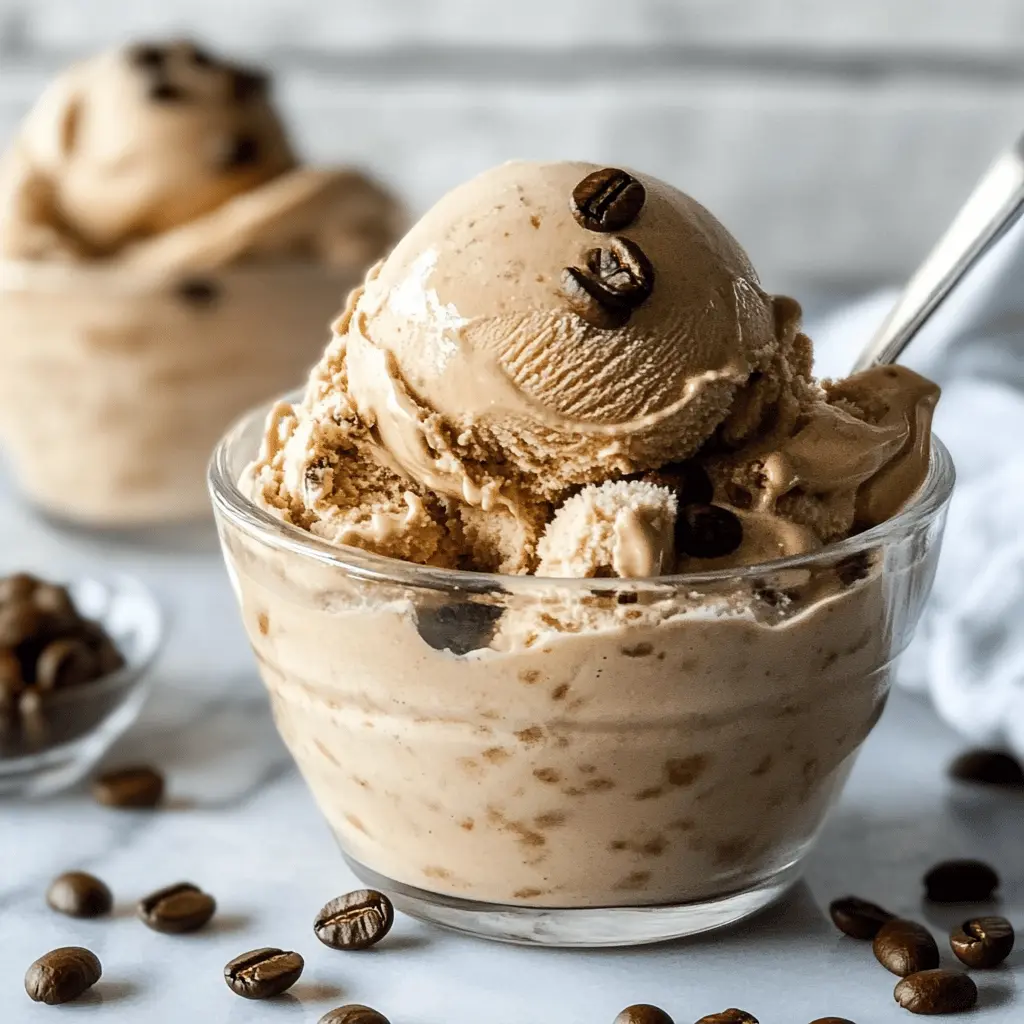
This creamy espresso ice cream is a dream come true for coffee lovers! Made with fresh espresso and just a few simple ingredients, it’s rich and smooth.
Every scoop feels like a café treat right at home. I love serving it topped with chocolate shavings for an extra touch. Trust me, your taste buds will thank you! ☕🍦
Key Ingredients & Substitutions
Heavy Cream: This is key for a rich texture. You can substitute with half-and-half for a lighter version, but the ice cream may be less creamy.
Instant Espresso Powder: If you don’t have espresso powder, strong brewed coffee works in a pinch. Just make sure it’s cooled down first. Some people find that finely ground coffee adds a nice texture and flavor too.
Egg Yolks: They add creaminess. For a vegan option, consider using silken tofu blended until smooth or a commercial egg replacer, keeping in mind the texture may slightly differ.
Granulated Sugar: You could use brown sugar for a different flavor, or even a sugar substitute like stevia or coconut sugar if you’re looking for healthier options.
How Do I Temper the Eggs Without Scrambling Them?
Tempering eggs is important for avoiding that scrambled texture. Here’s how to do it safely:
- Whisk the egg yolks and sugar in a bowl.
- Slowly drizzle in some of the heated cream mixture while whisking constantly. This warms up the eggs gradually.
- Once combined, quickly add the egg mixture back into the saucepan with the rest of the cream.
- Stir continuously over low heat until thickened.
Taking it slow helps prevent cooking the eggs. Enjoy the process—your patience will pay off in creamy ice cream!
Best Easy Homemade Espresso Ice Cream Recipe
Ingredients:
- 2 cups heavy cream
- 1 cup whole milk
- 3/4 cup granulated sugar
- 2 tablespoons instant espresso powder (or 2 shots of strong brewed espresso, cooled)
- 4 large egg yolks
- 1 teaspoon vanilla extract
- Pinch of salt
Time Needed:
This delightful espresso ice cream requires about 30 minutes of active preparation time, followed by at least 4 hours of chilling. If you can, let it sit overnight for the best flavor. After processing in the ice cream maker, allow it an additional 2-4 hours to firm up in the freezer before enjoying!
Step-by-Step Instructions:
1. Prepare the Cream Mixture:
In a medium saucepan, combine the heavy cream, whole milk, and half of the sugar. Warm this mixture over medium heat. Stir occasionally until the sugar dissolves and the mixture is hot but not boiling. This will help enhance the flavors.
2. Whisk the Egg Yolks:
In a small bowl, whisk together the egg yolks and the remaining sugar until the mixture is pale and thick. This step will add creaminess to your ice cream.
3. Temper the Eggs:
To prevent the eggs from scrambling, slowly pour about a cup of the hot cream mixture into the egg yolks while whisking continuously. This warms the eggs gradually. Once mixed, pour the egg yolk mixture back into the saucepan with the rest of the cream mixture.
4. Cook the Mixture:
Cook this combined mixture over low heat, stirring constantly with a wooden spoon or spatula until it thickens enough to coat the back of the spoon. You’re looking for a temperature of about 170-175°F (77-80°C), or it should leave a line when you run your finger through it on the spoon.
5. Add Espresso and Vanilla:
Remove the saucepan from heat. Stir in the espresso powder (or cooled brewed espresso), vanilla extract, and a pinch of salt until everything is fully incorporated. This is where the magic happens!
6. Strain the Custard:
Pour the mixture through a fine-mesh sieve into a clean bowl. This step will ensure there are no cooked egg bits, leaving you with a silky smooth texture.
7. Chill the Mixture:
Let the custard cool to room temperature. Once it’s cool, cover it and place it in the refrigerator for at least 4 hours. For the best results, leave it overnight to let the flavors meld.
8. Freeze in Ice Cream Maker:
After chilling, freeze the custard in your ice cream maker according to the manufacturer’s instructions. This usually takes about 20-30 minutes until it reaches a soft-serve consistency.
9. Firm Up the Ice Cream:
Transfer the ice cream to an airtight container and place it in the freezer for an additional 2-4 hours to firm up. This step is important for a scoopable texture!
10. Serve and Enjoy!
Once your ice cream is ready, scoop it into bowls or cones. For an extra special touch, top it with chocolate shavings or additional espresso beans. Enjoy your indulgent treat!
Enjoy your rich and creamy homemade espresso ice cream! ☕🍦

FAQ: Homemade Espresso Ice Cream Recipe
Can I Use Decaffeinated Espresso Powder?
Absolutely! If you’re sensitive to caffeine or prefer a decaf option, you can use decaffeinated espresso powder. The flavor will still be rich and delicious!
What If I Don’t Have an Ice Cream Maker?
No problem! You can pour the mixture into a shallow dish, freeze it, and every 30-60 minutes, stir it vigorously with a fork to break up any ice crystals. Repeat this process for about 3-4 hours, or until it reaches your desired consistency.
How Should I Store Leftover Ice Cream?
Store any leftover espresso ice cream in an airtight container in the freezer. It can stay fresh for about 2-3 weeks, but for the best texture, consume it within a week. Let it sit out for a few minutes before scooping to make it easier!
Can I Add Mix-Ins to This Ice Cream?
Definitely! Feel free to fold in chocolate chips, crushed cookies, or even a swirl of caramel just before freezing it in the ice cream maker. Make sure to mix them in gently so they spread evenly.