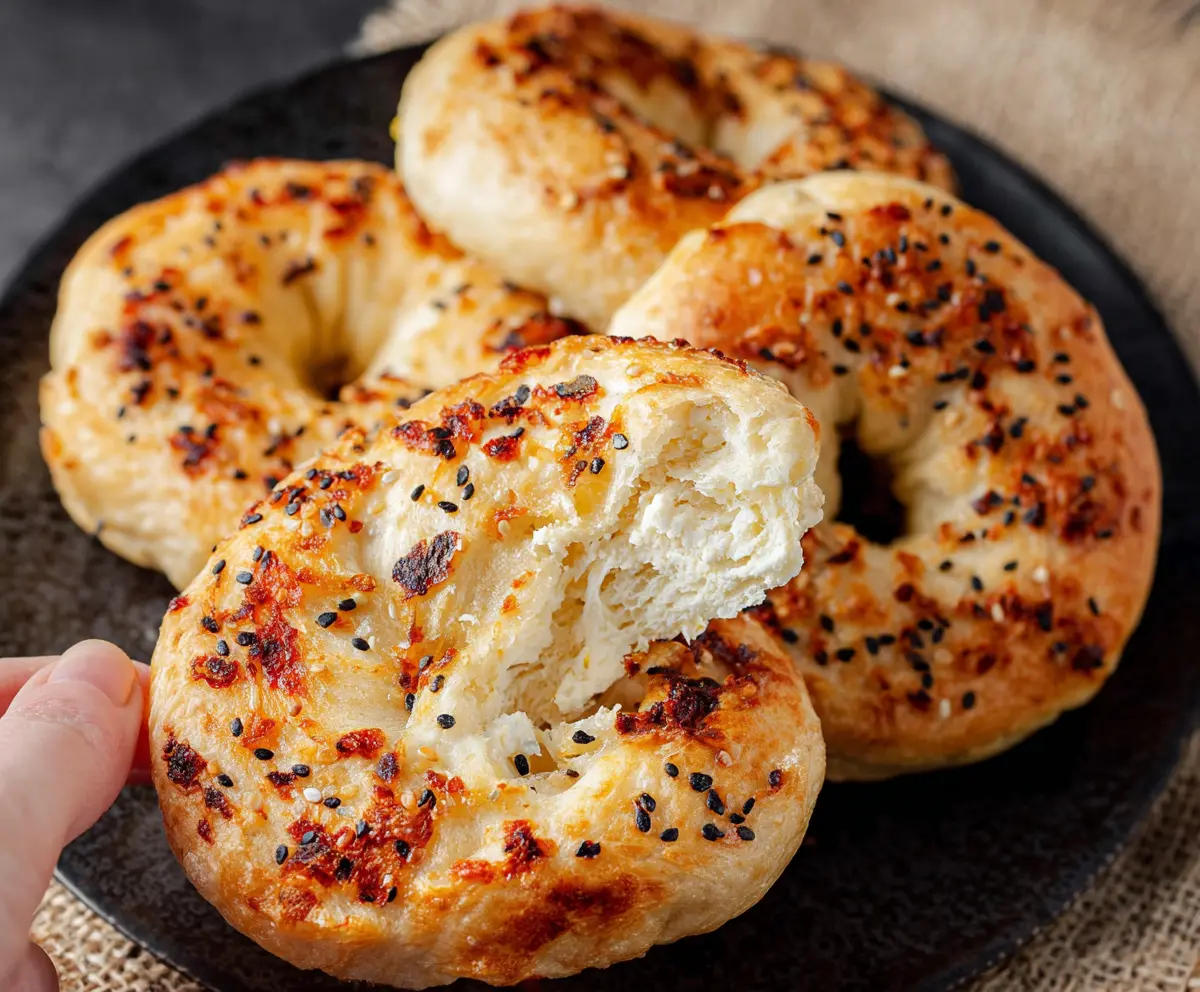
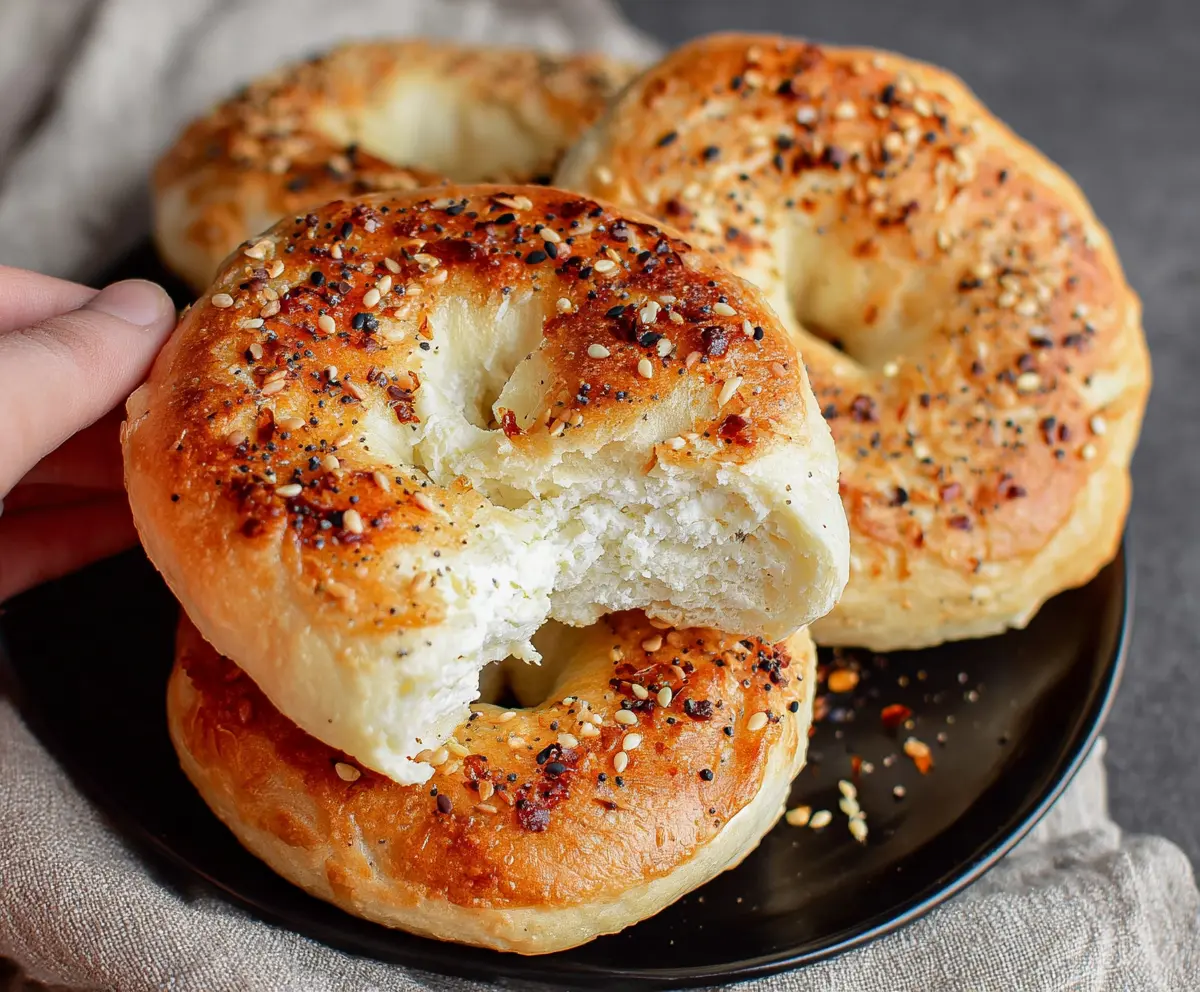
These 3-ingredient cottage cheese bagels are super easy to make! With just cottage cheese, flour, and baking powder, you’ll have soft, tasty bagels in no time.
Making these is as fun as eating them! I love topping them with cream cheese or a sprinkle of everything seasoning. Perfect for a quick breakfast or snack!
Key Ingredients & Substitutions
Cottage Cheese: Full-fat cottage cheese gives the best texture and flavor. If you’re vegan or dairy-free, try using a plant-based yogurt instead—unsweetened almond or soy yogurt can work well as a substitute.
Self-Rising Flour: This flour contains baking powder and salt. If you have all-purpose flour, simply mix in 1 1/2 tsp baking powder and 1/4 tsp salt per cup. I’ve found this works just as good! Alternatively, gluten-free flour blends can be used for a gluten-free option.
Egg: The egg helps bind the dough and adds moisture. If you want a vegan option, use 1/4 cup of unsweetened applesauce or a flax egg (1 tbsp ground flaxseed mixed with 2.5 tbsp water). This substitution works nicely and keeps the bagels delicious!
How Do I Shape Bagels without Making a Mess?
Shaping the bagels can be tricky if you’re not careful. Here’s how to do it smoothly:
- Start with flour on your hands and the surface. This prevents the dough from sticking.
- After dividing the dough, roll each piece into a ball. Poke a hole in the center with your finger gently, but don’t press too hard!
- Stretch the hole slightly while rotating the dough to make an even bagel shape. This way, each bagel has a nice, uniform look.
- Finally, don’t worry if they aren’t perfect! They taste just as good!
3-Ingredient Cottage Cheese Bagels
Ingredients You’ll Need:
For the Bagels:
- 1 cup cottage cheese (full-fat works best)
- 1 cup self-rising flour (or all-purpose flour with 1 1/2 tsp baking powder and 1/4 tsp salt)
- 1 large egg
Optional Toppings:
- Black sesame seeds
- Nigella seeds
- Everything bagel seasoning
How Much Time Will You Need?
This recipe will take you about 10 minutes to prep and 20–25 minutes to bake, so you’ll have fresh bagels ready in about 35 minutes! Perfect for a quick breakfast or snack during your busy day.
Step-by-Step Instructions:
1. Preheat Your Oven:
Start by preheating your oven to 375°F (190°C). While the oven heats, line a baking sheet with parchment paper or lightly grease it to prevent sticking.
2. Mix Everything Together:
In a large bowl, combine the cottage cheese, self-rising flour, and the egg. Use a spatula or your hands to mix everything until a dough starts to form. Don’t worry if it’s a little sticky; that’s perfectly okay!
3. Shape the Bagels:
Lightly sprinkle flour on your hands and the work surface to make it easier to handle the dough. Divide your dough into 4 equal pieces. Roll each piece into a ball. Then, poke a hole in the center with your finger and gently stretch it to create that classic bagel shape.
4. Prepare for Baking:
Place your shaped bagels on the prepared baking sheet. If you’d like, sprinkle some black sesame seeds, nigella seeds, or everything bagel seasoning on top for extra flavor!
5. Bake the Bagels:
Put the baking sheet in the oven and bake the bagels for 20–25 minutes, or until they’re golden brown. Your kitchen will smell amazing!
6. Cool and Enjoy:
Once they’re golden and baked through, take the bagels out of the oven and let them cool for just a few minutes. Serve them warm or at room temperature. Enjoy your delicious homemade bagels!
Can I Use Non-Dairy Alternatives for the Cottage Cheese?
Yes! You can substitute full-fat cottage cheese with a plant-based yogurt, such as unsweetened almond or soy yogurt, for a dairy-free option. This will alter the flavor slightly, but it should still work well in the recipe!
Can I Make These Bagels Gluten-Free?
Absolutely! You can use a gluten-free all-purpose flour blend instead of regular flour. Just ensure that it contains xanthan gum or add it separately to help bind the dough together.
How Should I Store Leftover Bagels?
Store any leftover bagels in an airtight container in the fridge for up to 3 days. You can also freeze them for longer storage. Just make sure to wrap them well in plastic wrap before placing them in a freezer bag; they should last for about 2 months. For the best texture, toast them after thawing!
Can I Customize the Toppings?
Definitely! Feel free to get creative with toppings. You can use a sprinkle of salt, garlic powder, or even shredded cheese. Experiment with flavors that you love!